DIY Home Theater for Rental Apartments
This article is for Day 6 of the “Wall Advent Calendar 2021”.
Why Build a Home Theater?
Humans are creatures driven to install things on walls, and the undisputed king of wall-mounted aspirations for everyone is the “home theater.”
| Men | Women |
|---|---|
| 1. Home Theater | 1. Home Theater |
| 2. Climbing Wall | 2. Abstract painting by a college friend |
| 3. Andy Warhol poster | 3. Black-and-white Mads Mikkelsen poster |
One major hurdle to building a home theater in Japan is that roughly 40% of housing consists of rental apartments. Unlike homeowners, tenants face strict constraints:
- No drilling holes into walls
- No replacing wallpaper
- No irreversible alterations to walls or floors
Non-destructive DIY is naturally more challenging than destructive DIY. In this post, I will share an accessible, beginner-friendly DIY method for setting up an awesome home theater in a rental apartment.
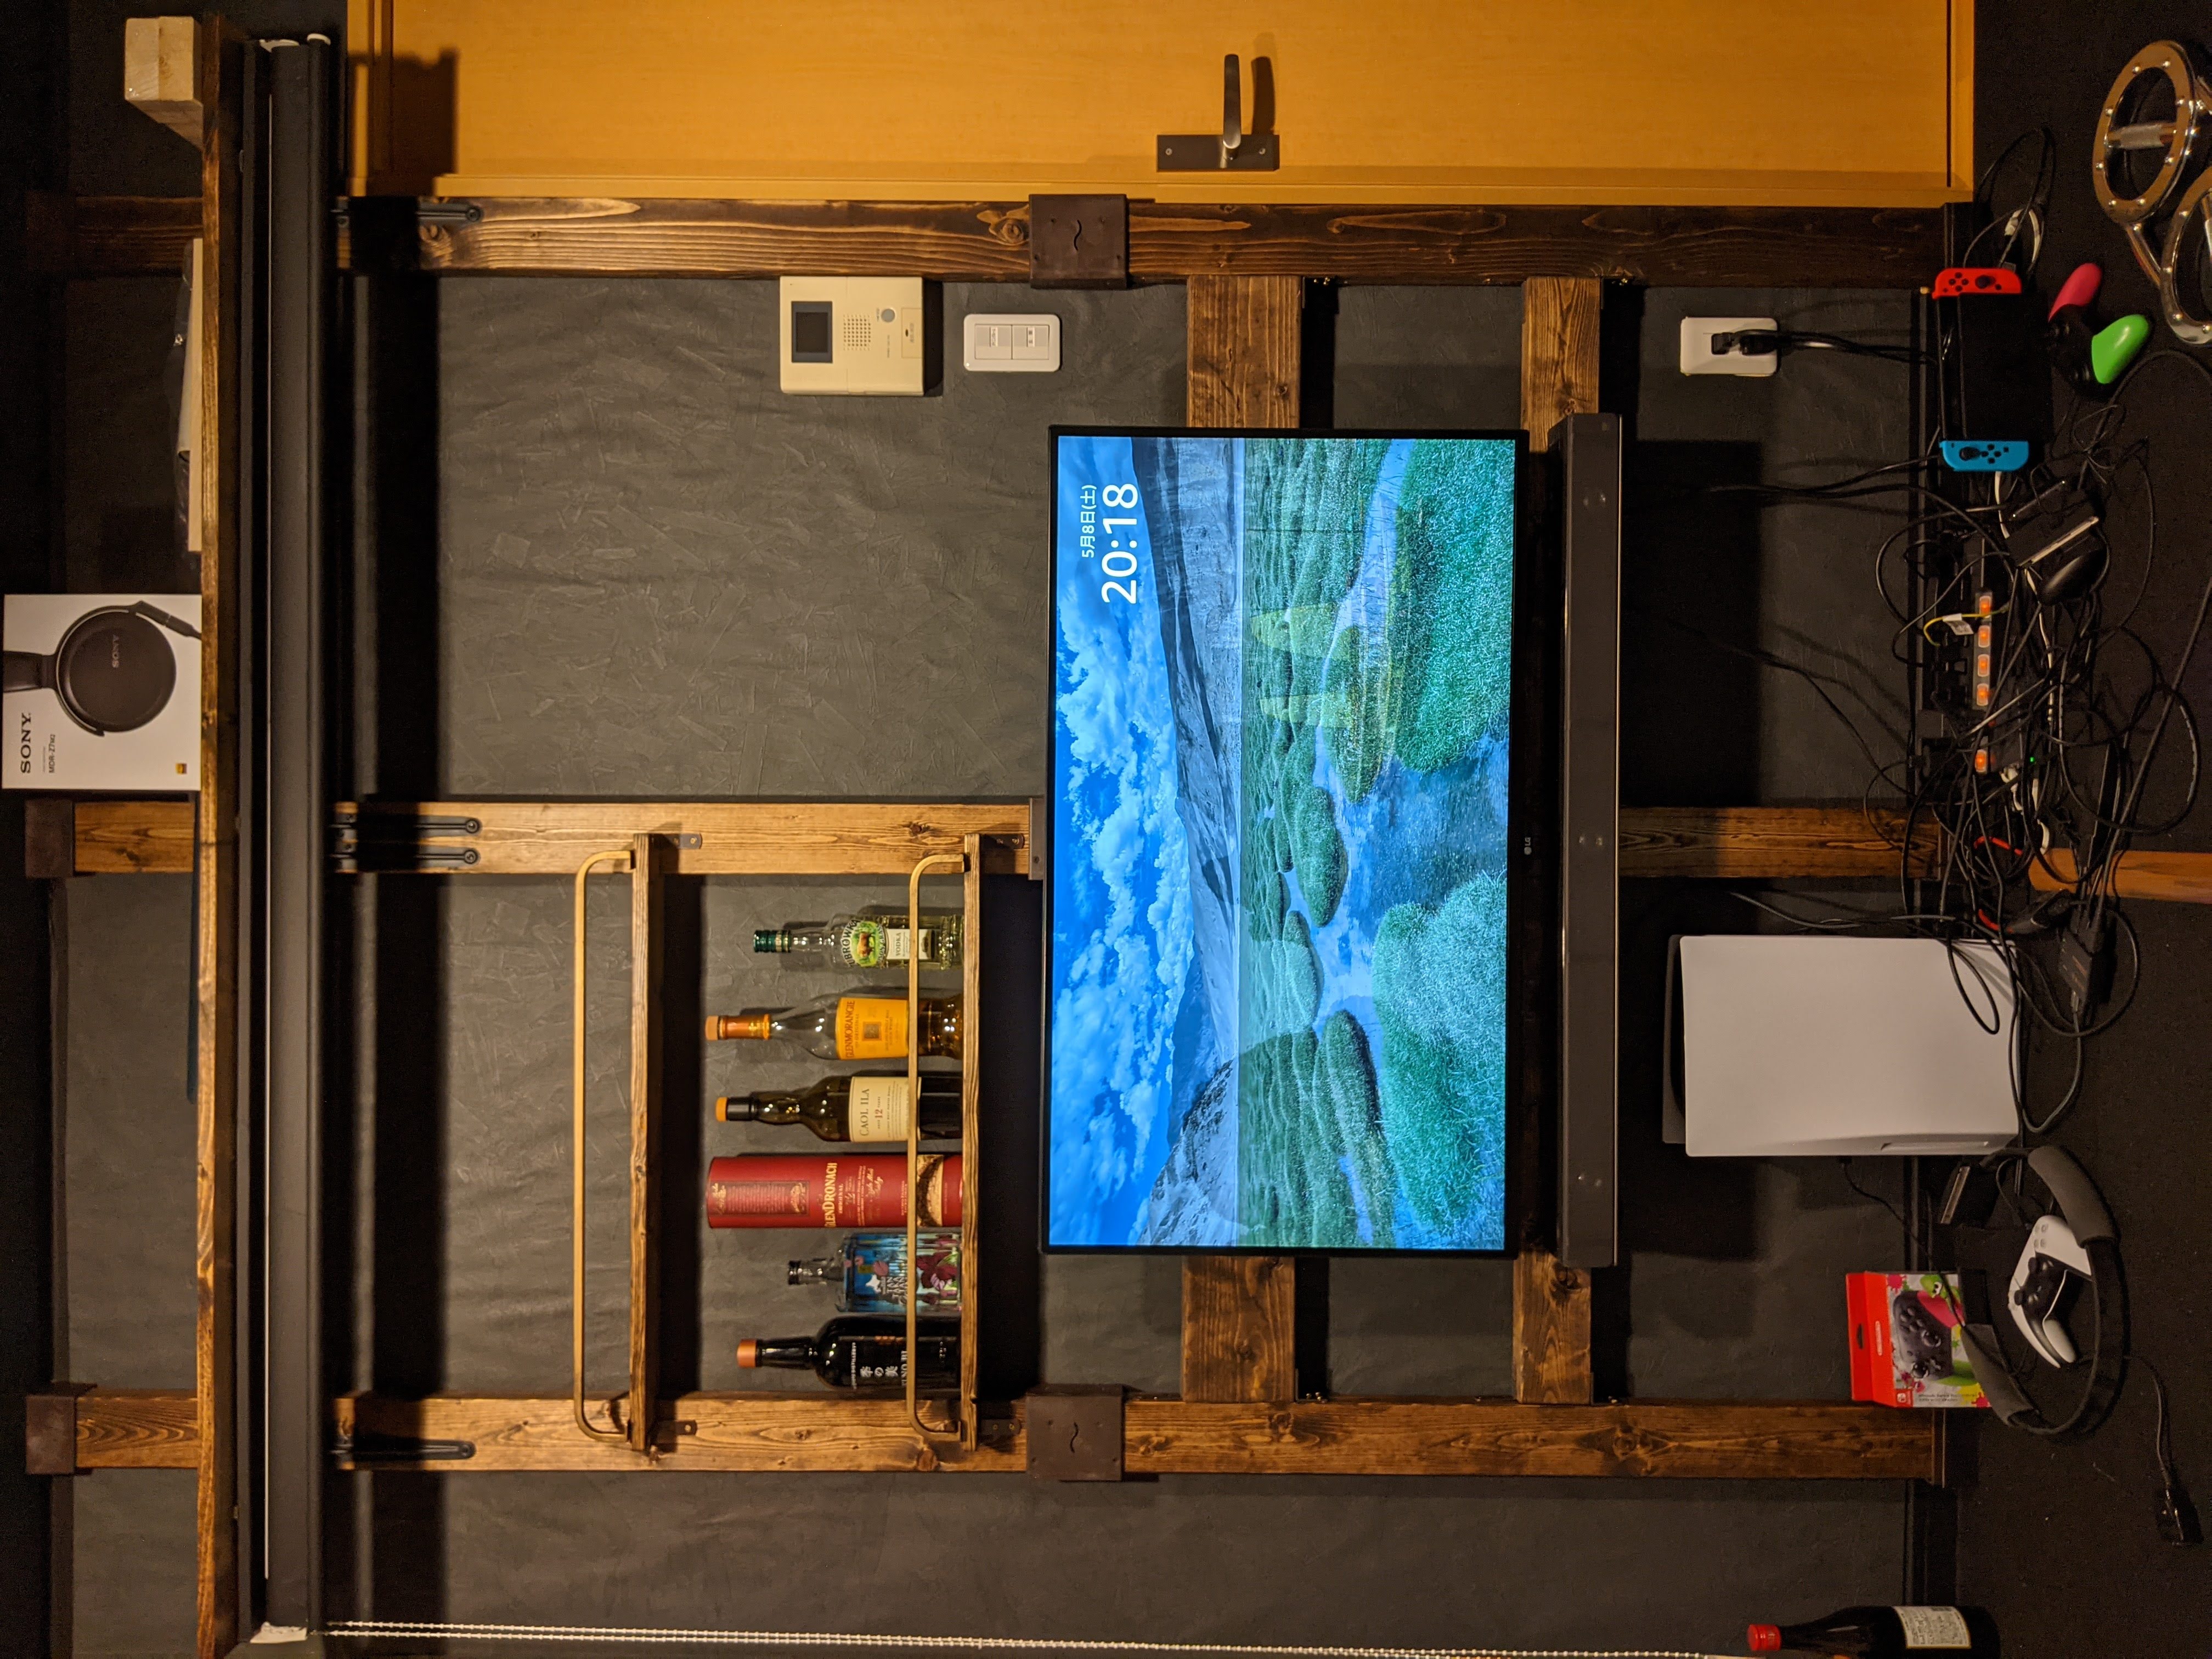
The home theater setup we'll build
Home Theater Build Process
Let’s overview the basic steps:
- Requirements definition
- Layout & design planning
- Purchasing materials
- Assembly
Taking it step by step, building a DIY home theater is not difficult at all. Let’s dive into the details.
1. Requirements Definition
First, define what kind of home theater you want to build. Desired picture and sound quality dictate projector and speaker sizes, while target screen size sets throw distance requirements.
A specific requirement for my setup was coexistence of a TV display and a projector screen. I wanted to watch movies on a giant screen, but play fast-paced video games on a low-latency monitor. Additionally, minimizing floor footprint was essential to avoid cluttering a compact room with TV stands.
Key structural needs identified:
- Non-invasive wall-mounting frame for the display monitor
- Two-tier layered structure accommodating both monitor and pull-down screen
2. Layout & Design Planning
Planning where each component goes. Measure room dimensions, door openings, and window locations, then create a schematic diagram (using tools like PowerPoint).
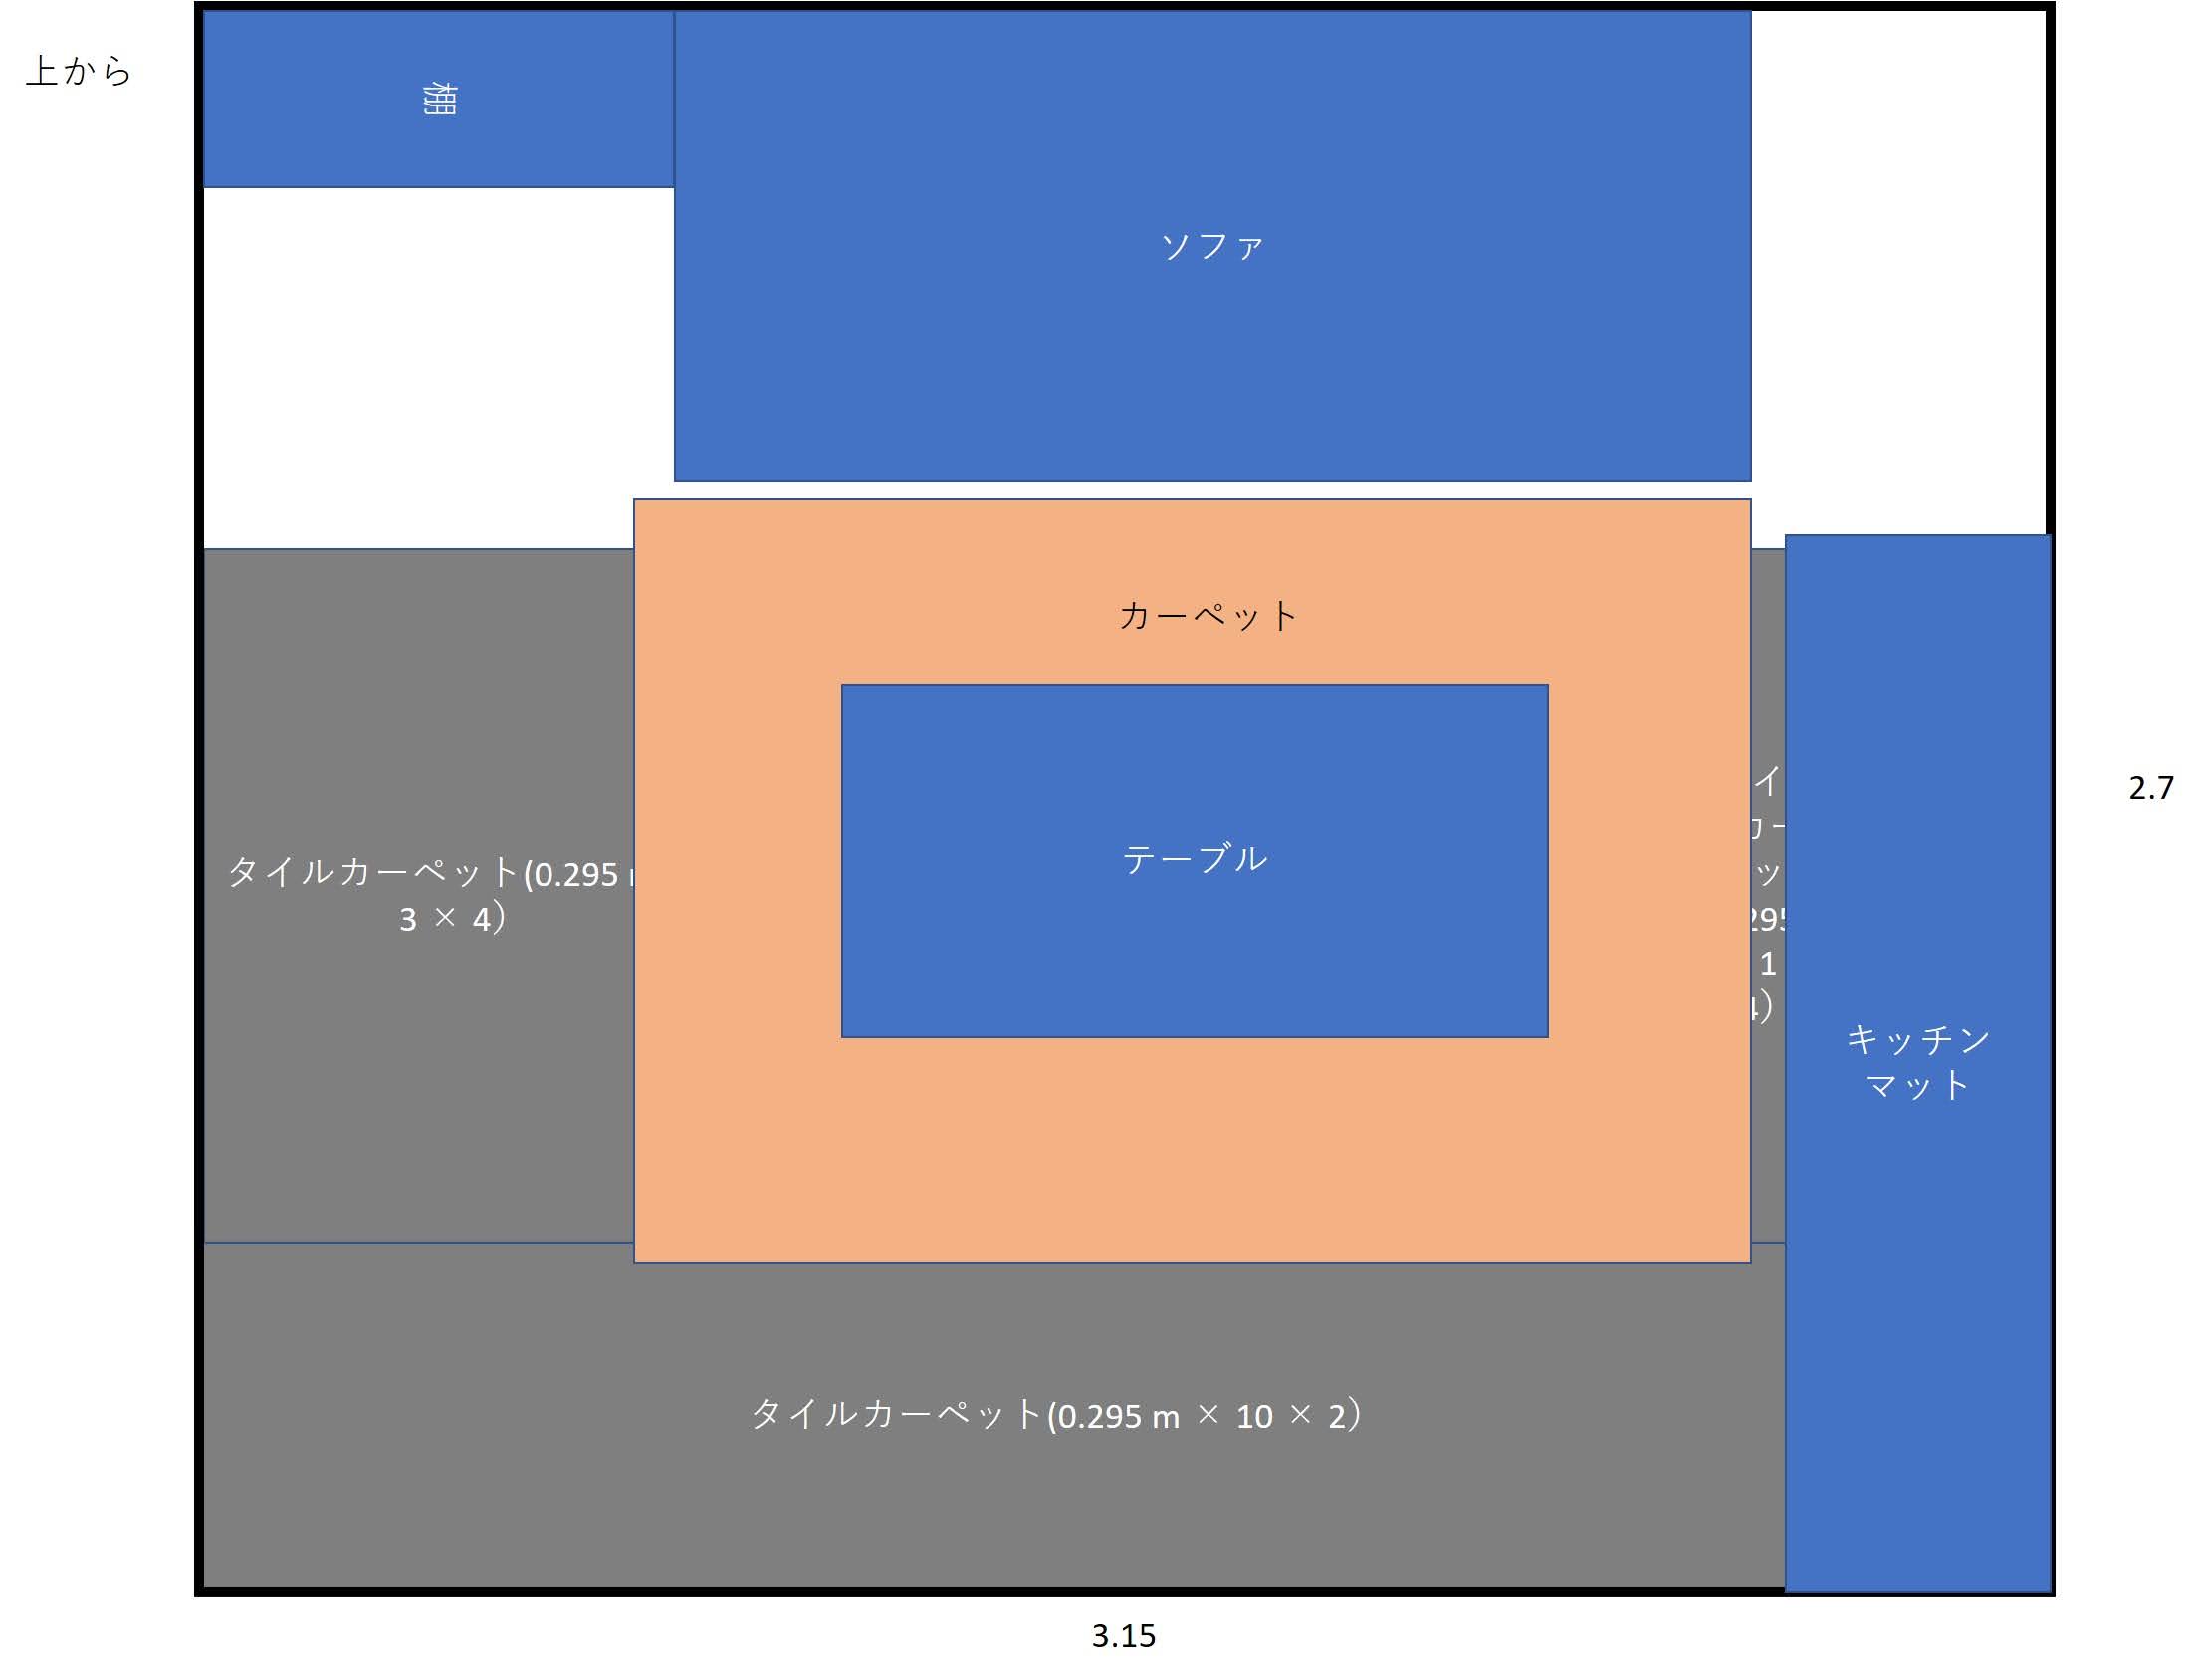
Top-down view layout diagram of the room.
In Japanese DIY, standard “2x4 (Two-by-four)” lumber is widely used. To build a sturdy frame without drilling walls, I used Diawall (ディアウォール), spring-tension brackets that hold 2x4 posts firmly between the floor and ceiling like heavy-duty tension rods.
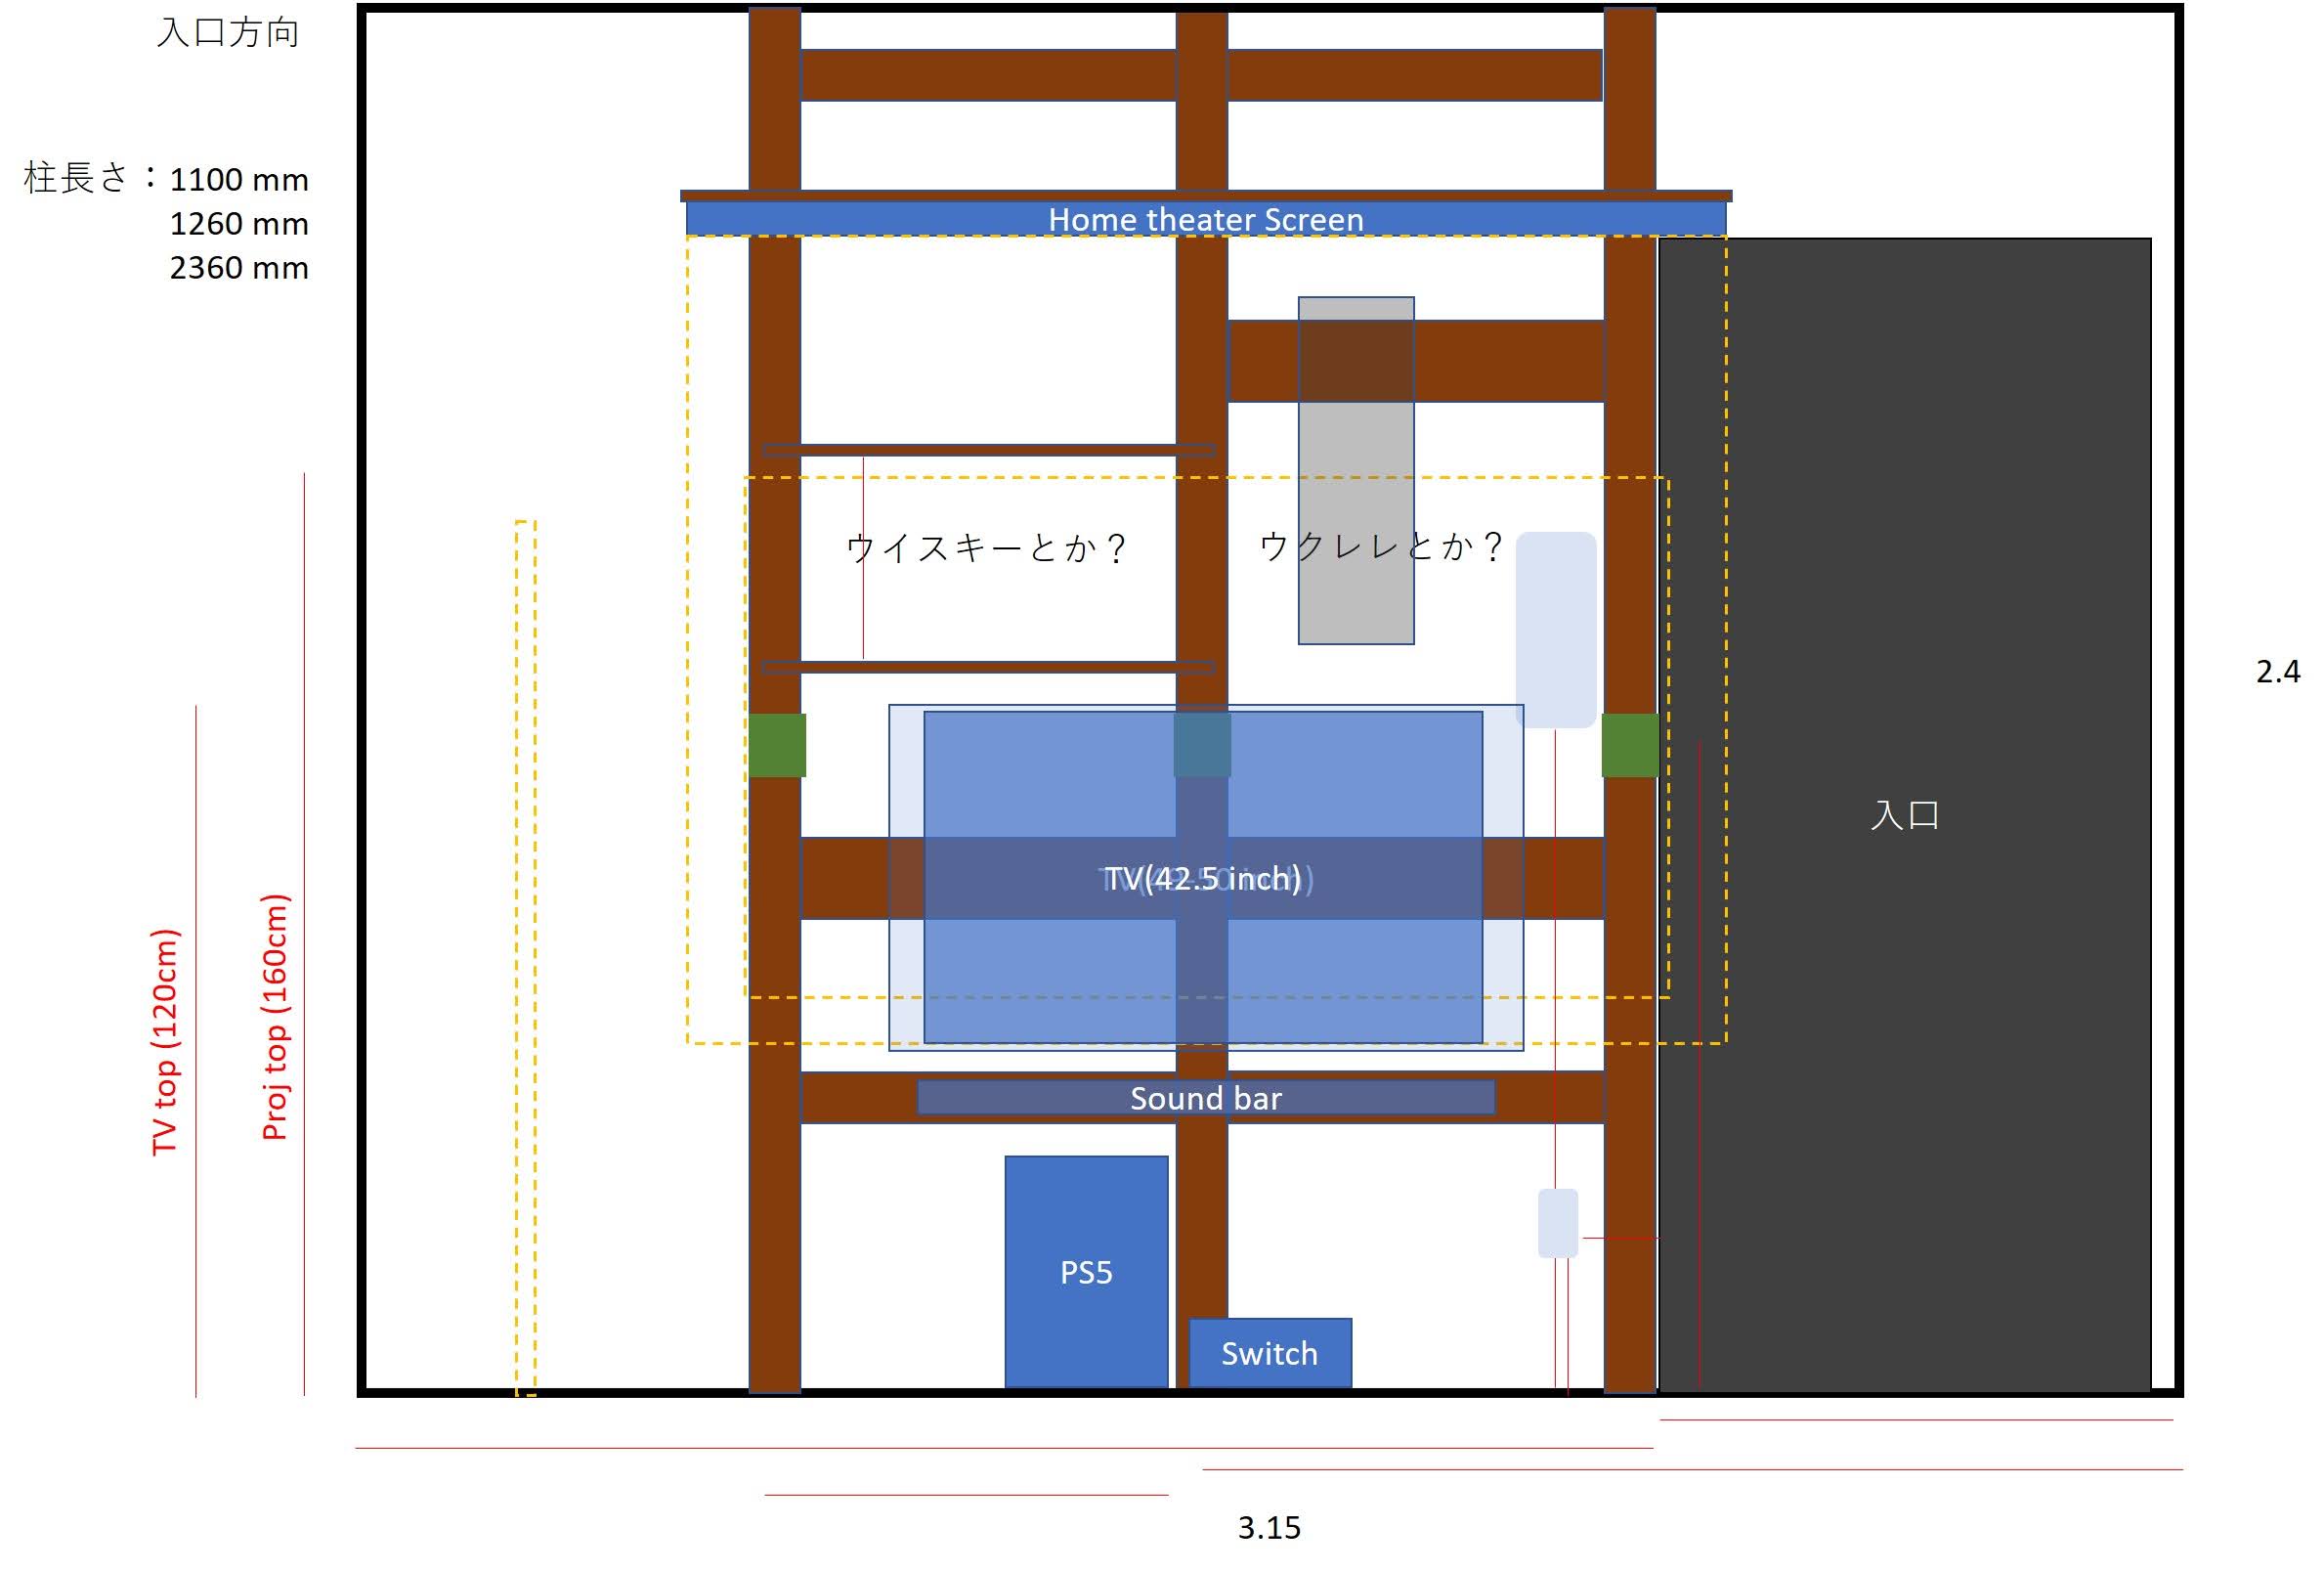
Wall layout on the screen side. Measure door positions and clear widths accurately.
The frame is designed with two depth levels so the pull-down roller screen lowers slightly in front of the wall-mounted display.
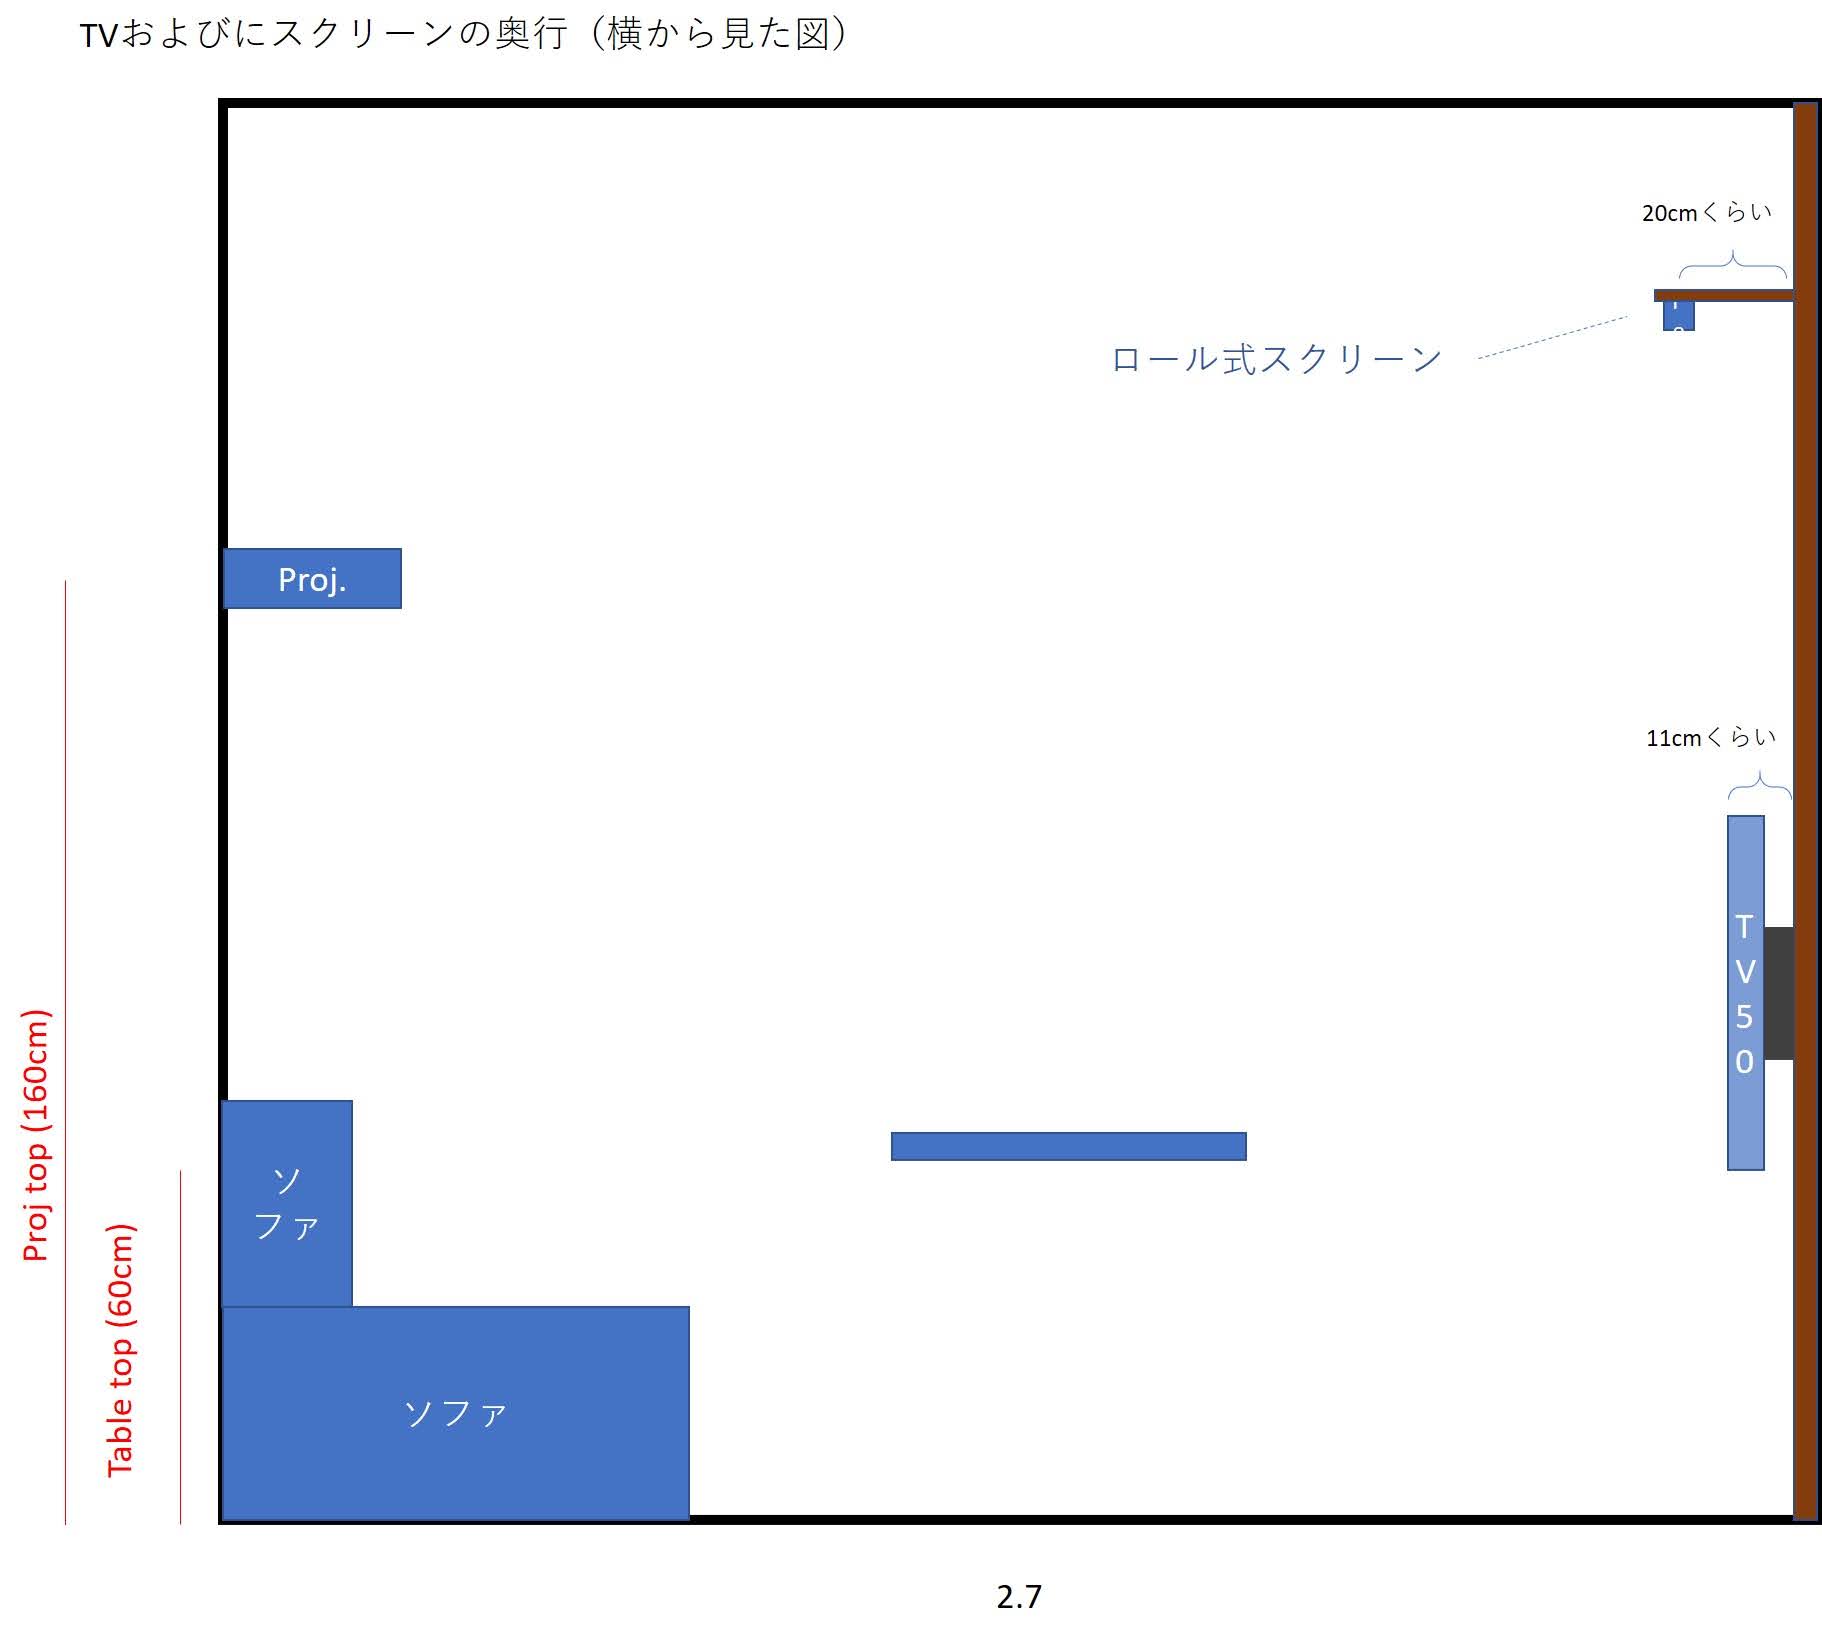
Side view: Roller screen lowers directly in front of the TV display.
On the opposite wall, a compact shelf mounted onto the window frame holds the projector.
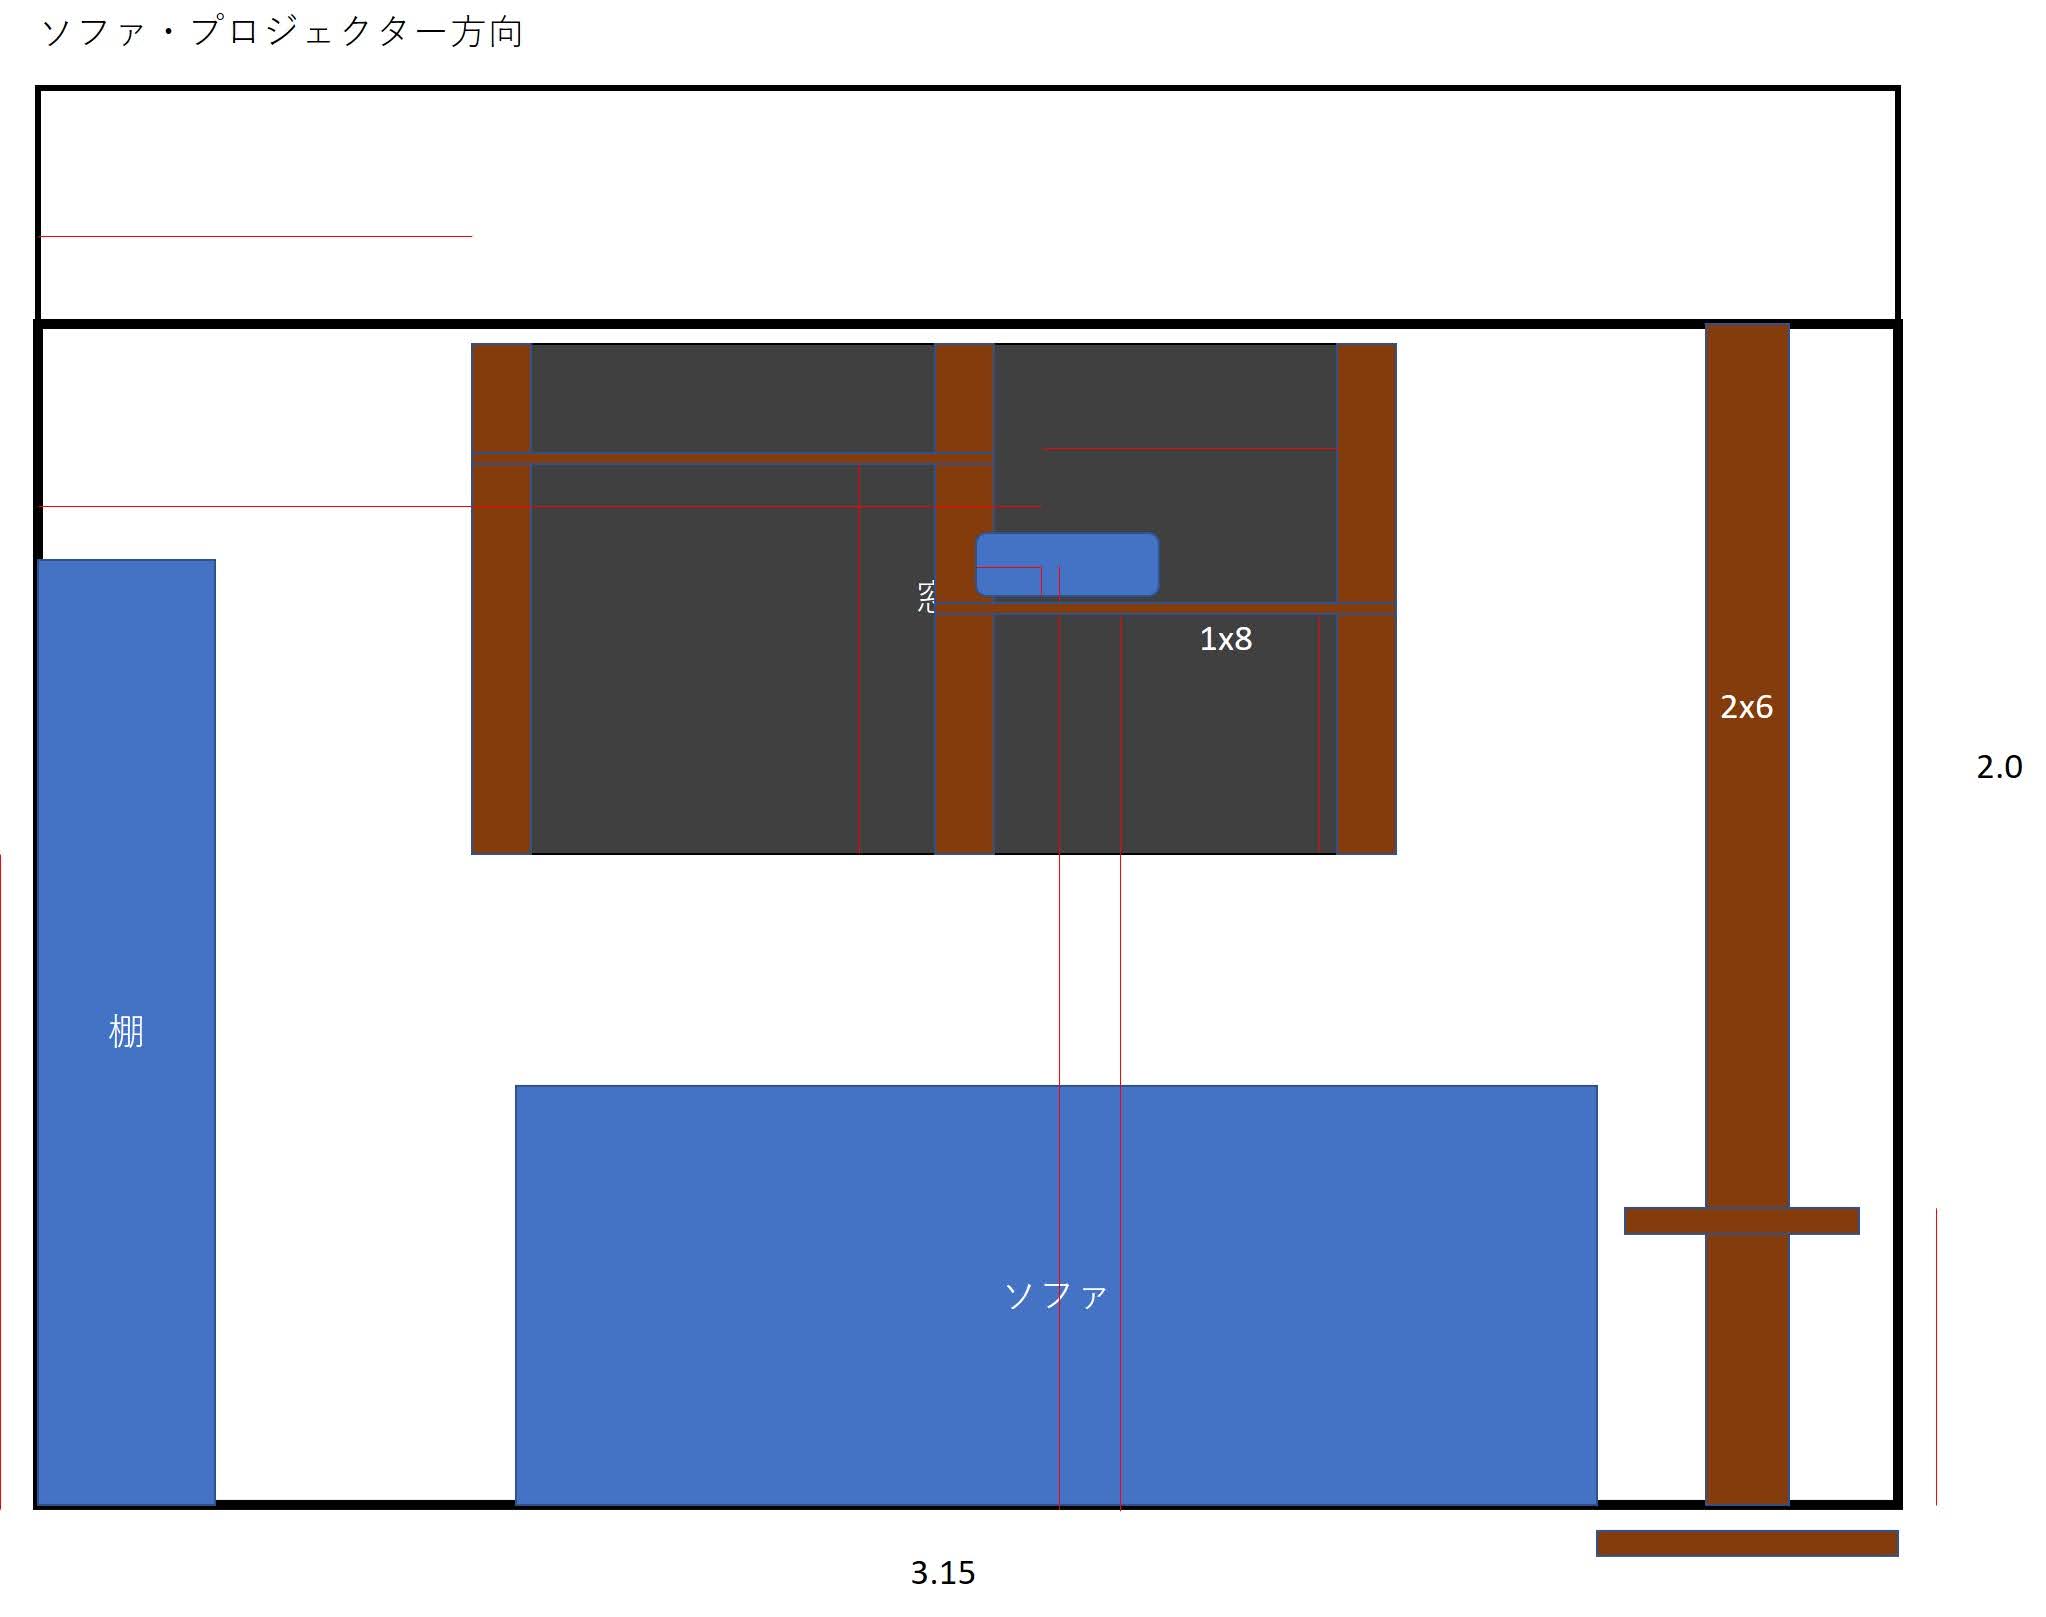
Opposite wall layout: Projector shelf fitted into the window alcove.
3. Purchasing Materials
Once dimensions and layouts are set, calculate the required lengths and quantities of 2x4 lumber and mounting brackets.
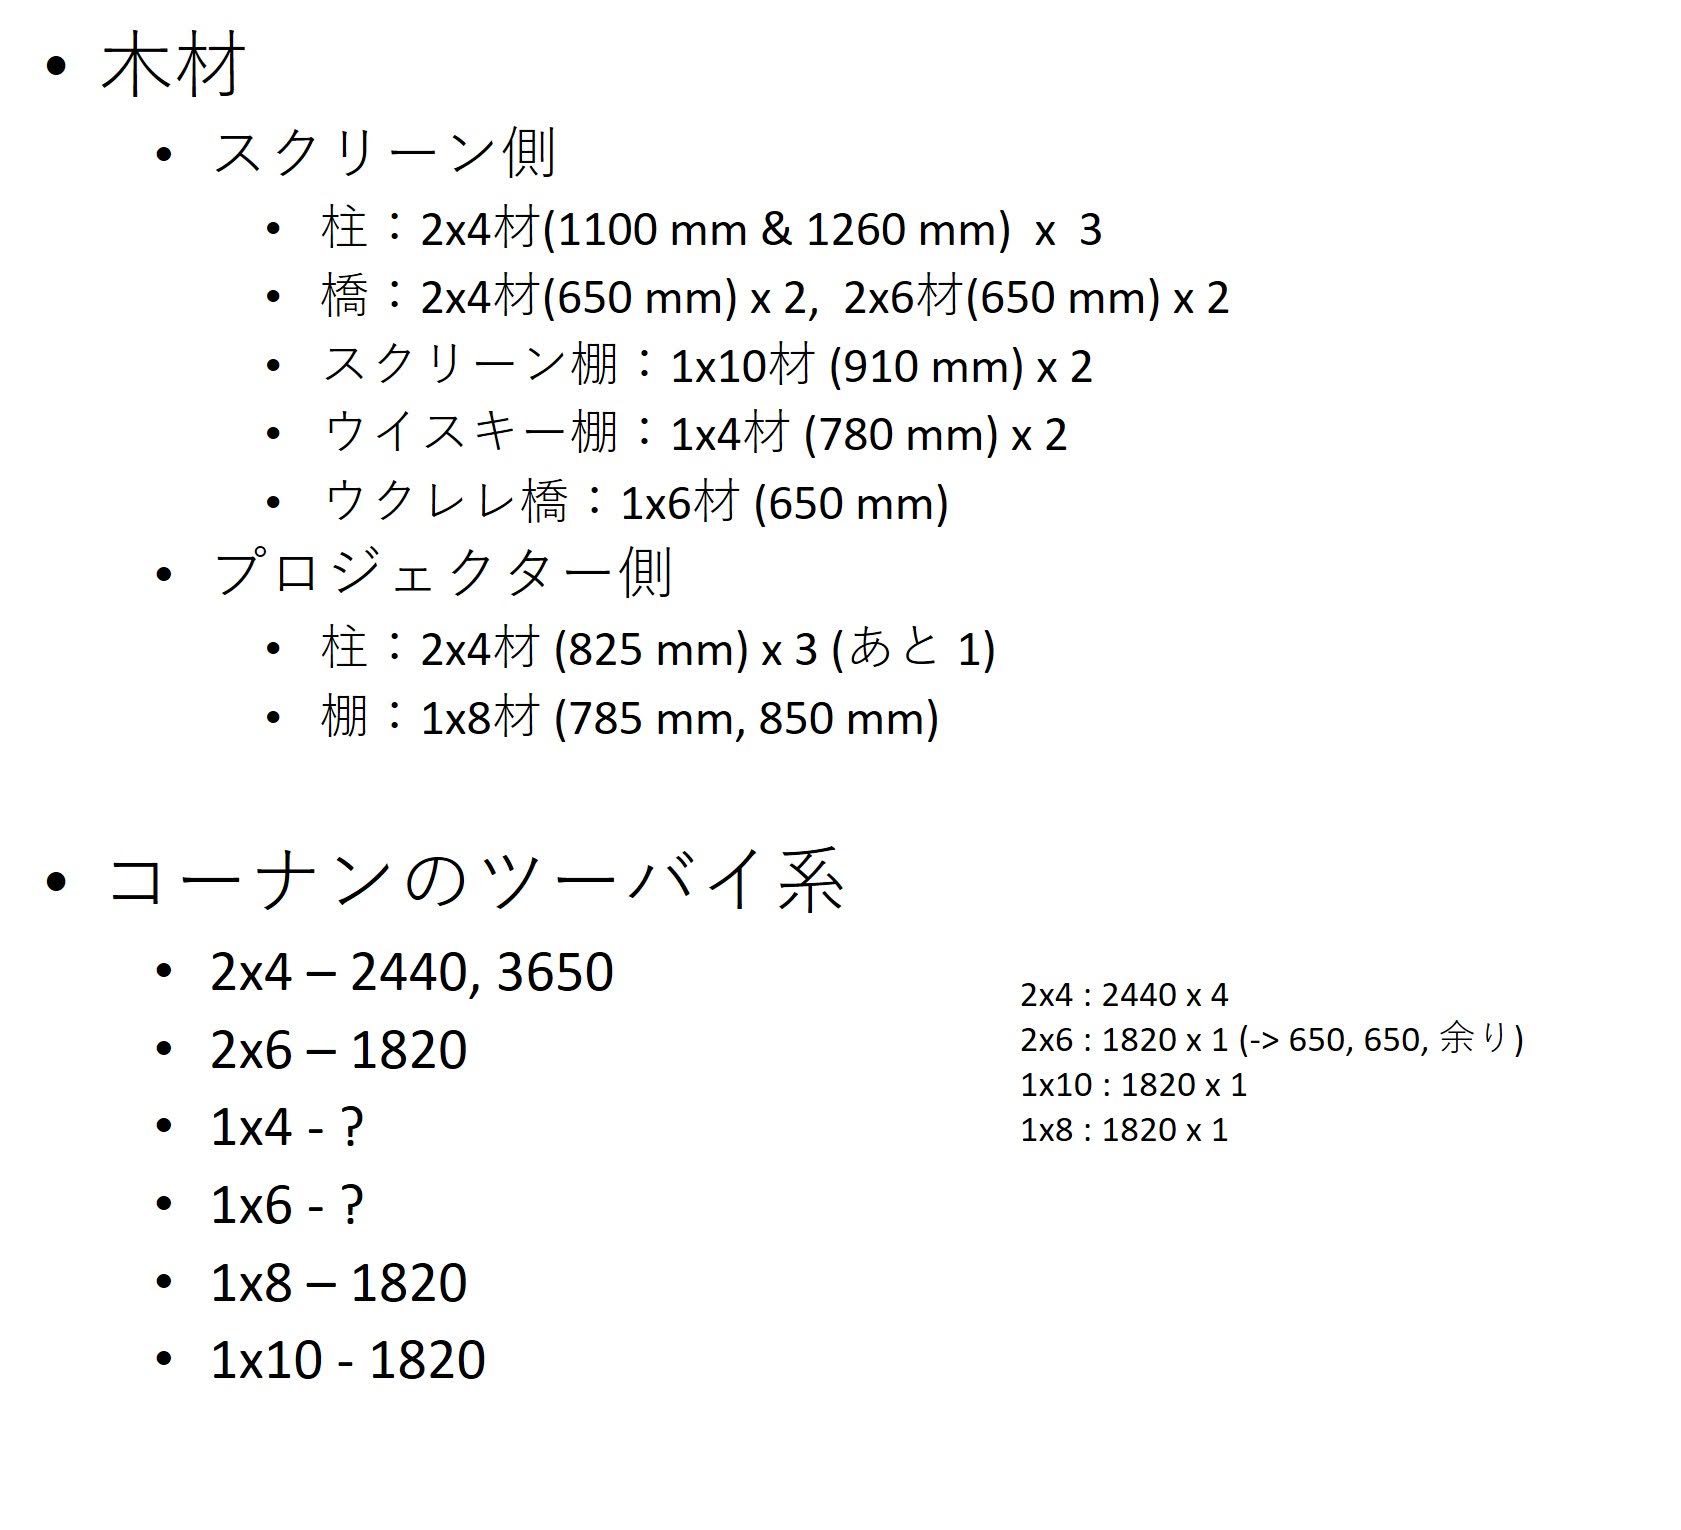
Lumber cut list calculated based on local home improvement center stock sizes.
Most home centers offer lumber cutting services and lightweight truck rentals, making transportation straightforward.
4. Assembly
Key steps for a polished setup:
- Darken walls, floor, and ceiling for stray light reduction
- Stain lumber with a stylish wood finish
- Assemble the frame according to design
- Cable management for clean aesthetics
Darkening Walls, Floor, and Ceiling
As discussed in Setting Up a Home Theater in a Studio Apartment, absorbing stray reflections around the screen maximizes image contrast.
To apply black wallpaper without tearing delicate rental wallpaper upon move-out, use the Masking Tape Barrier Method: Apply low-tack masking tape to the wall first, apply double-sided tape onto the masking tape, and then mount the black wallpaper on top.
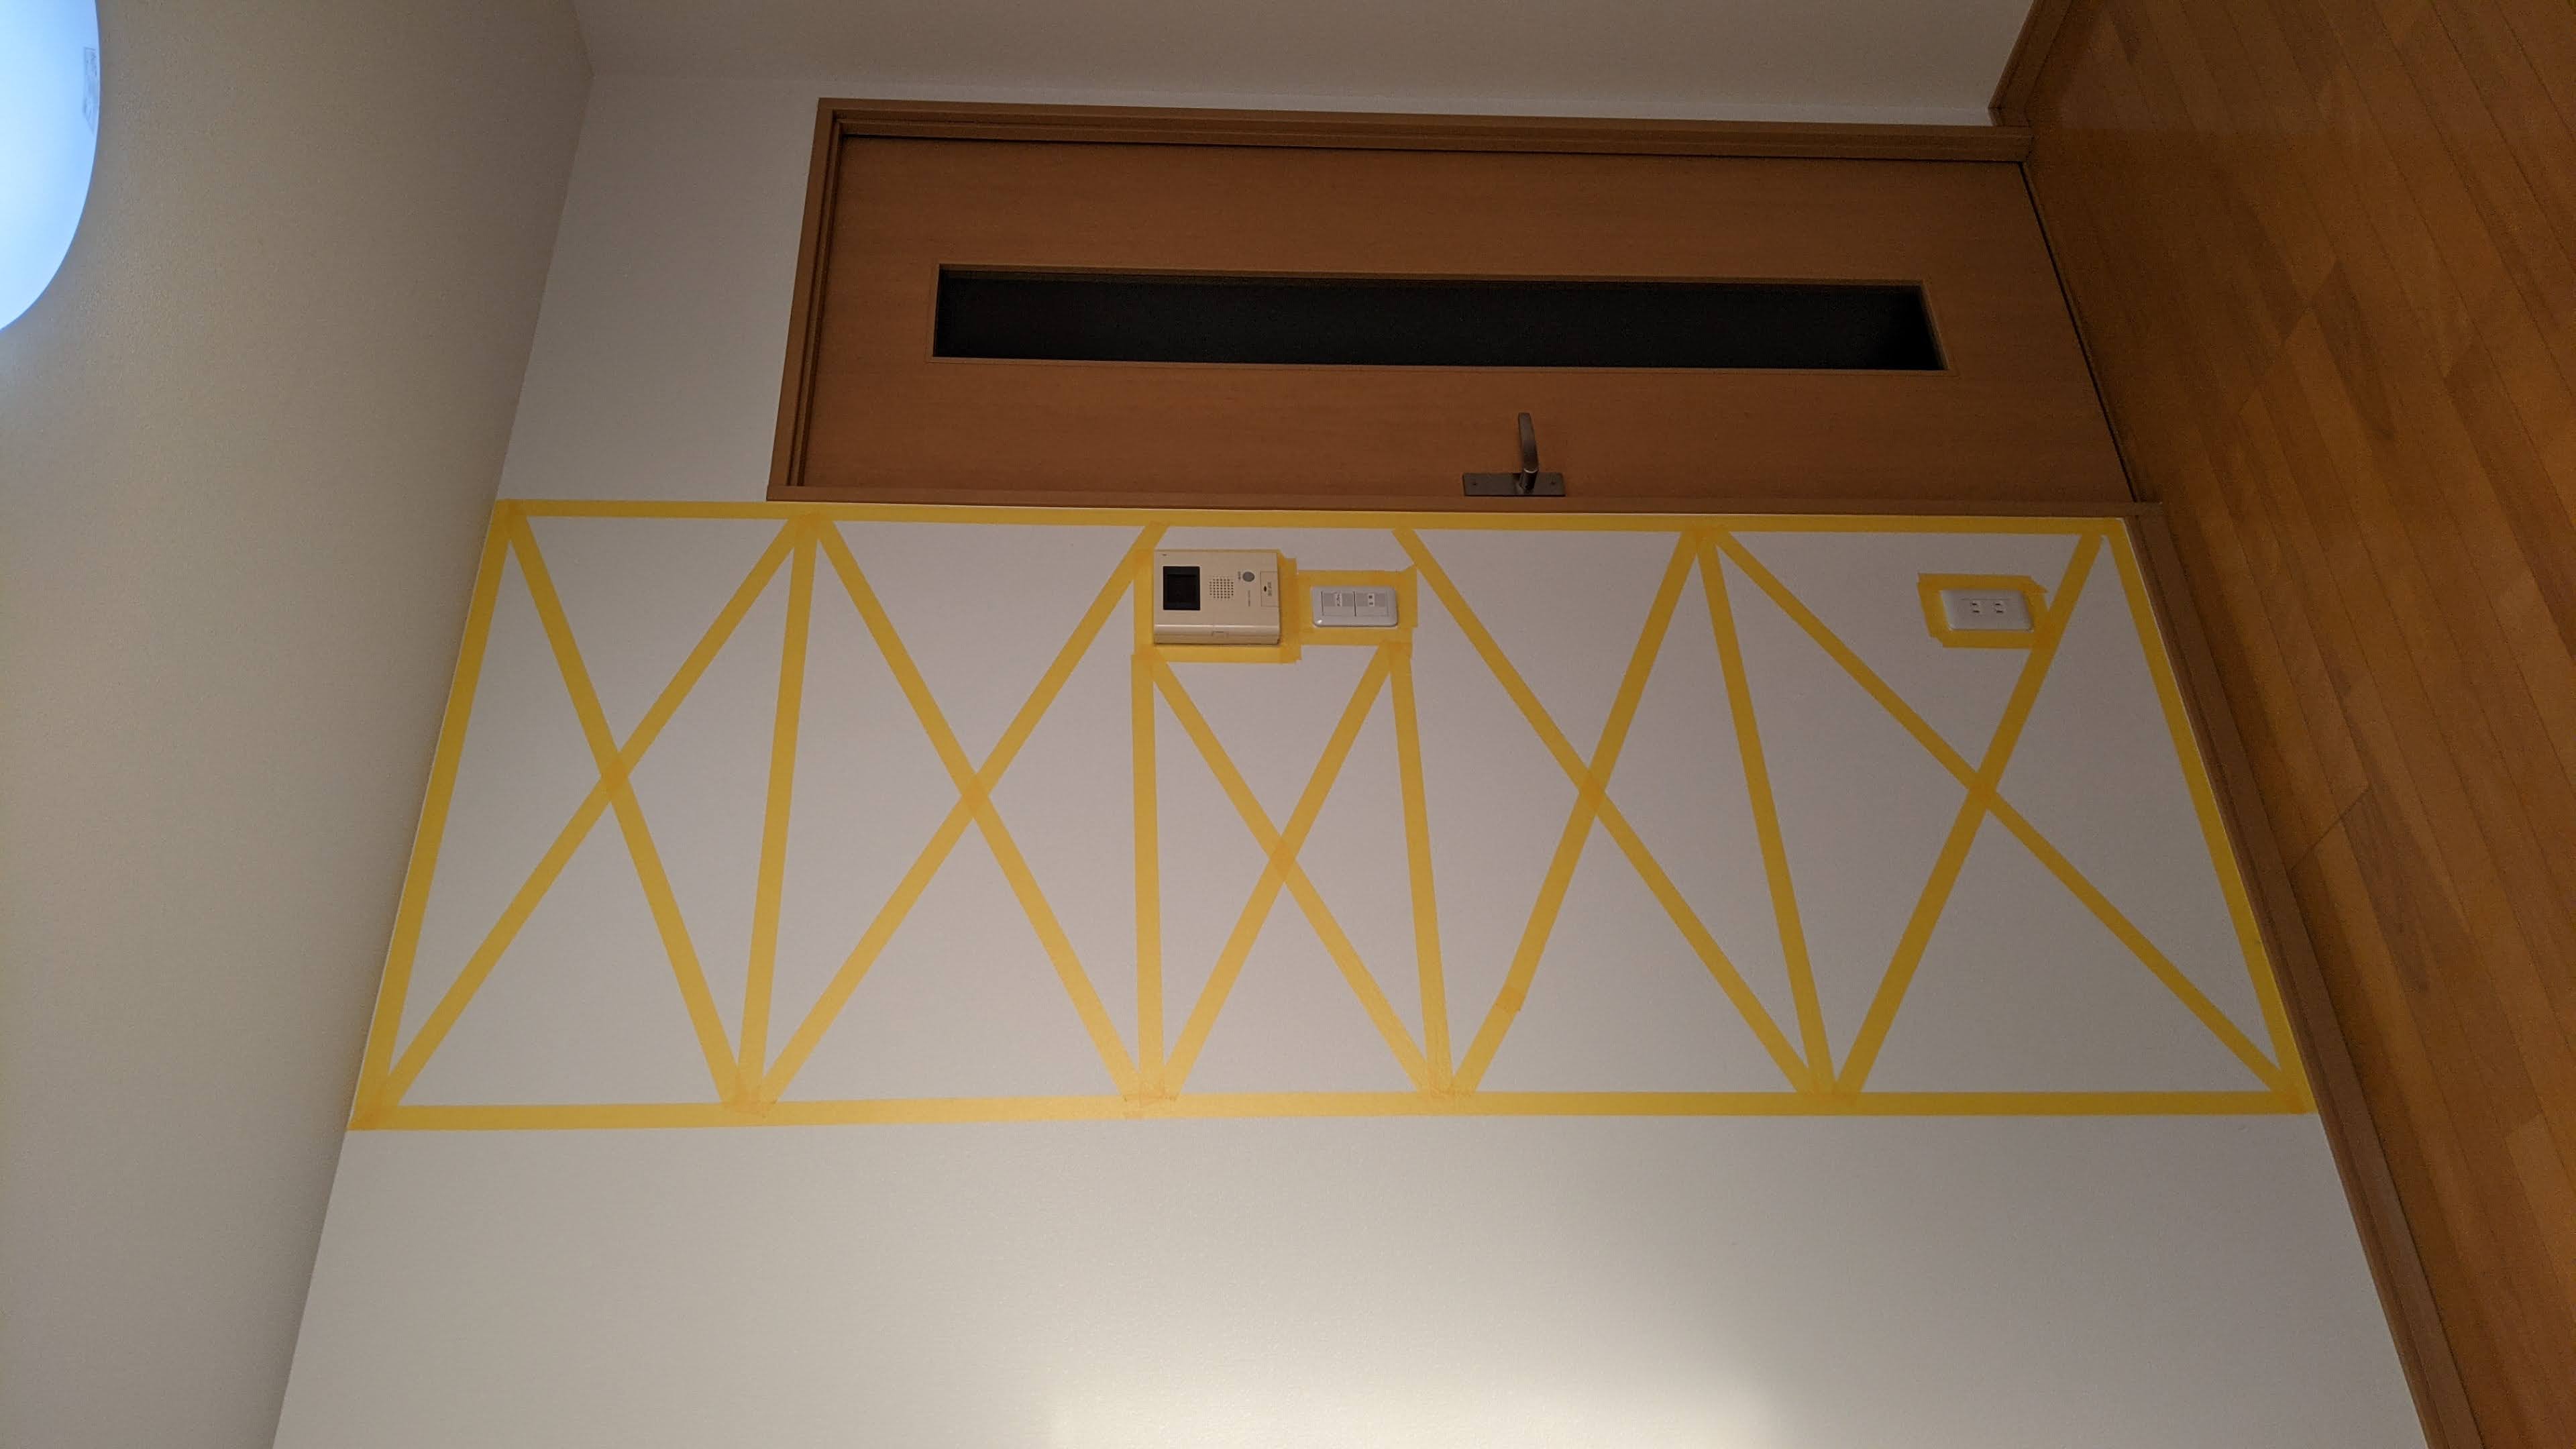
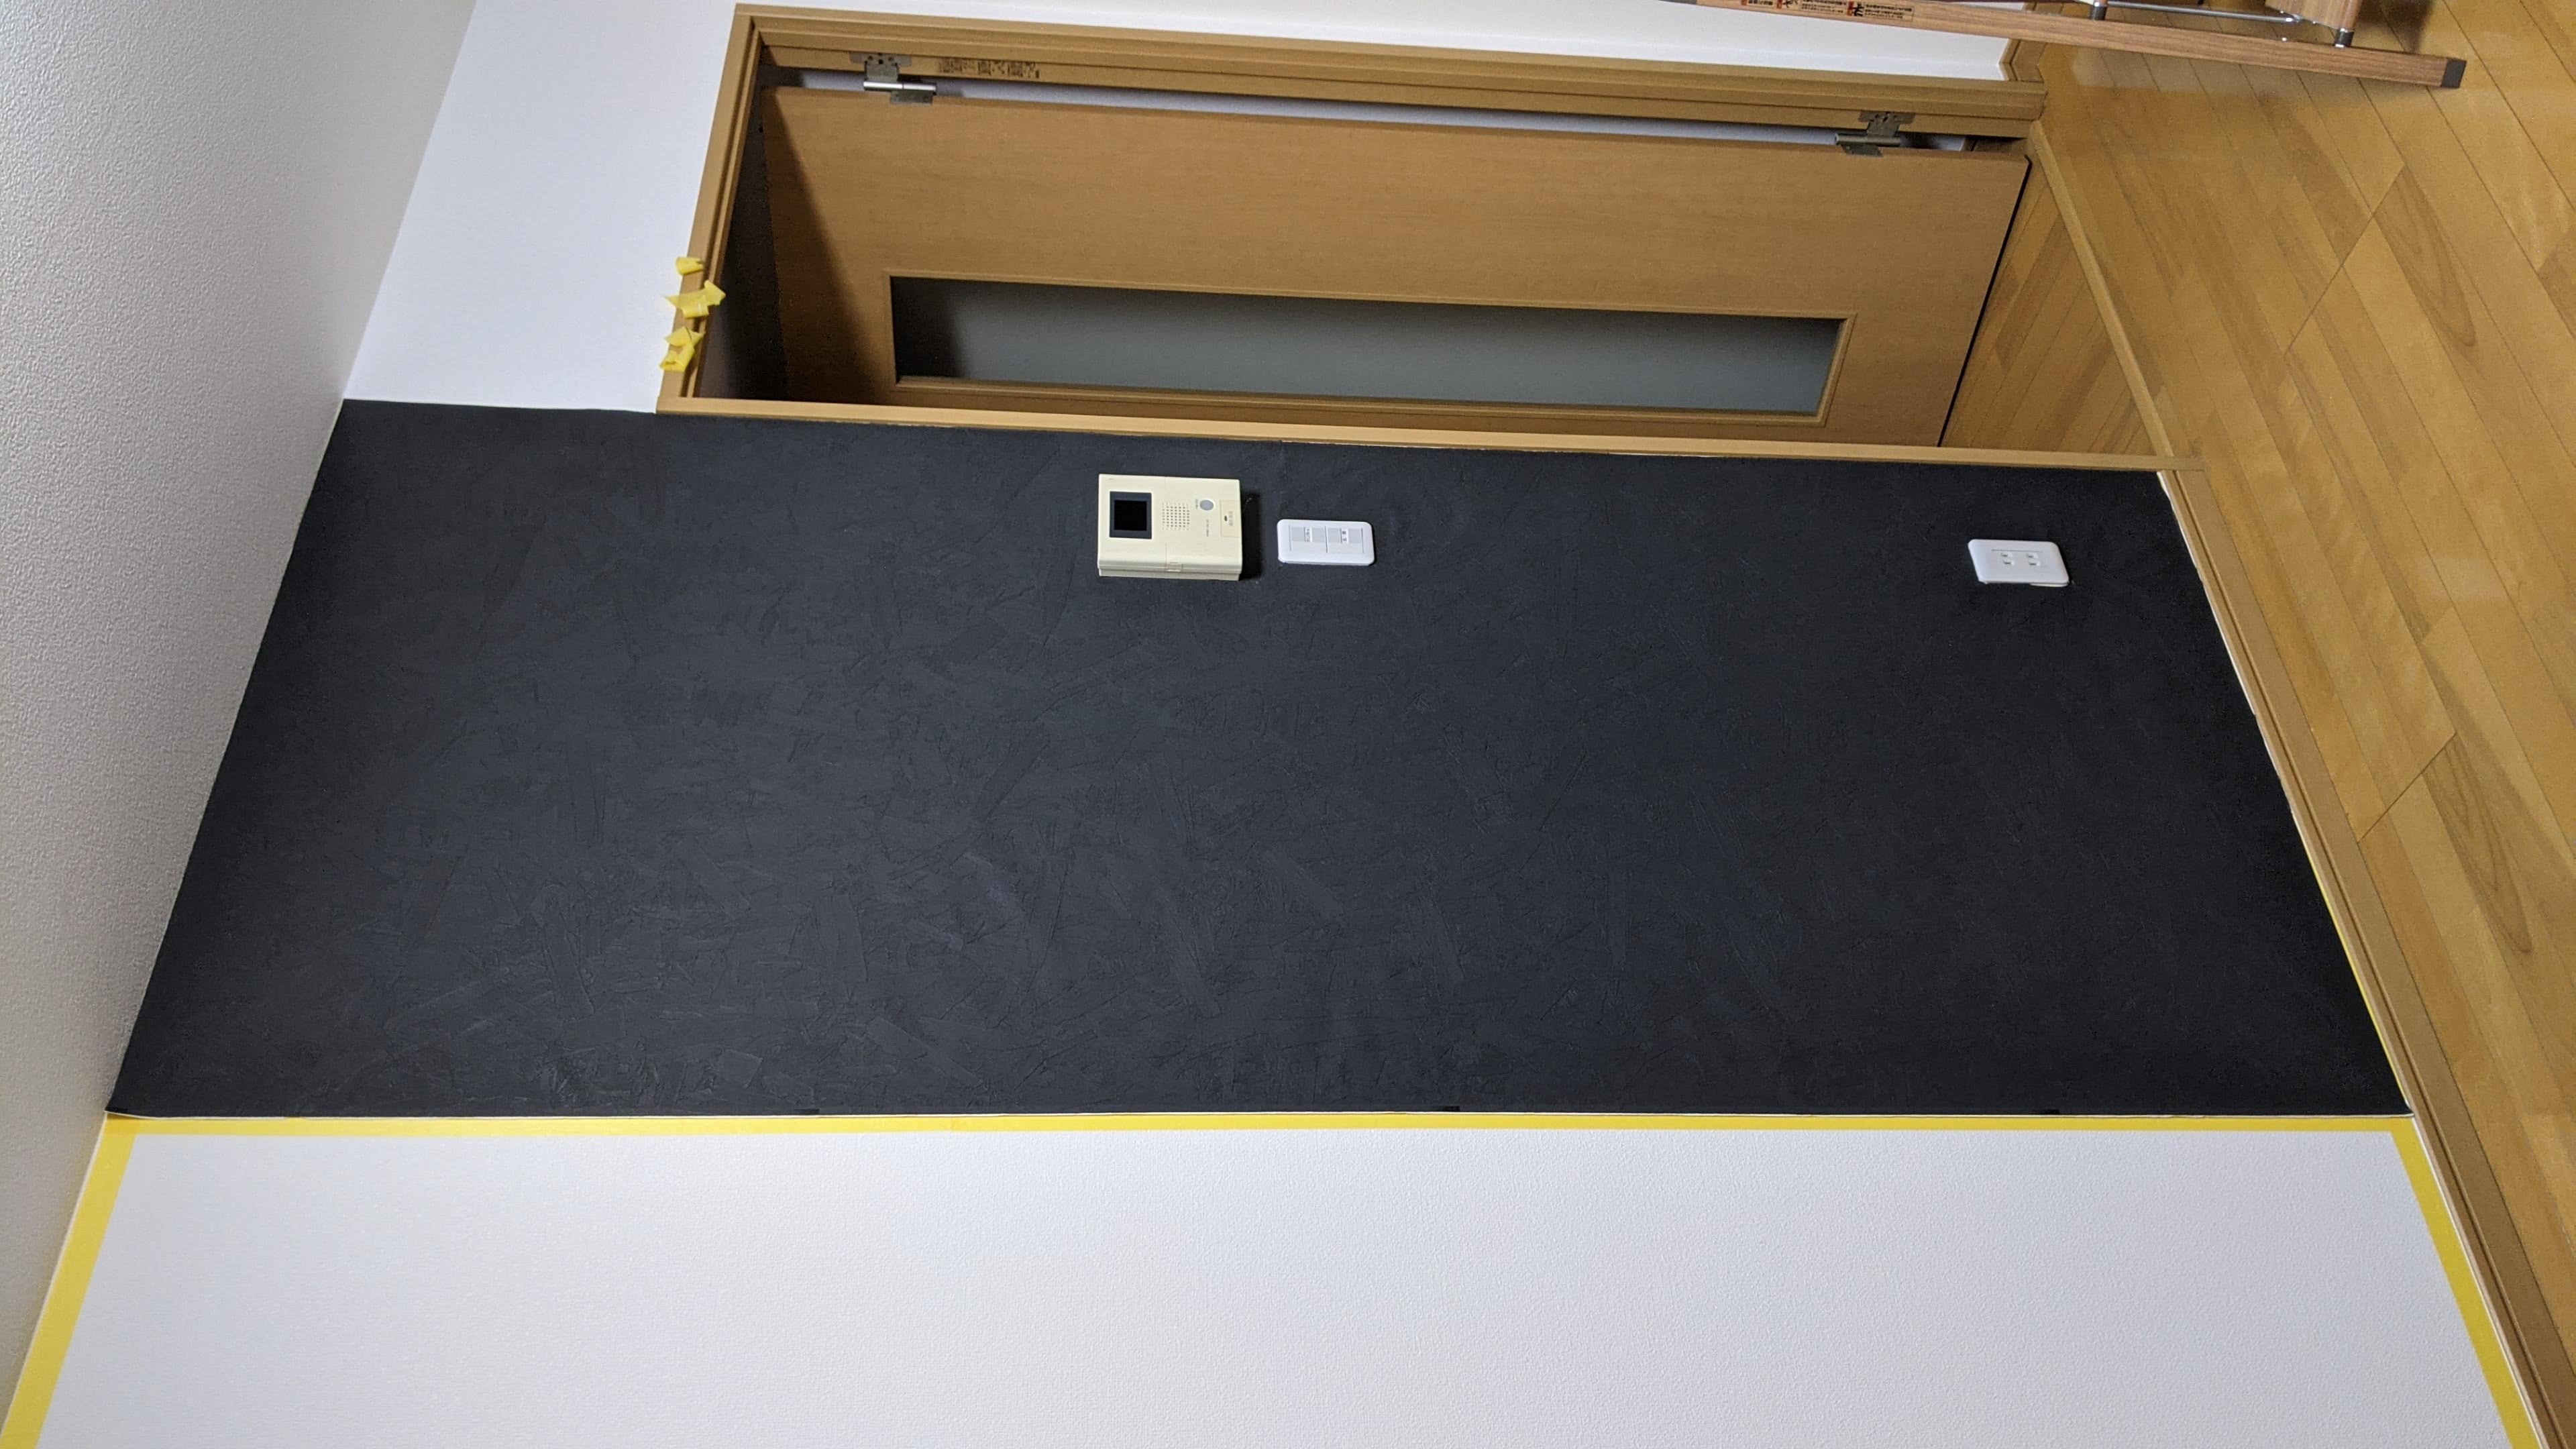
Applying black wallpaper over masking tape.
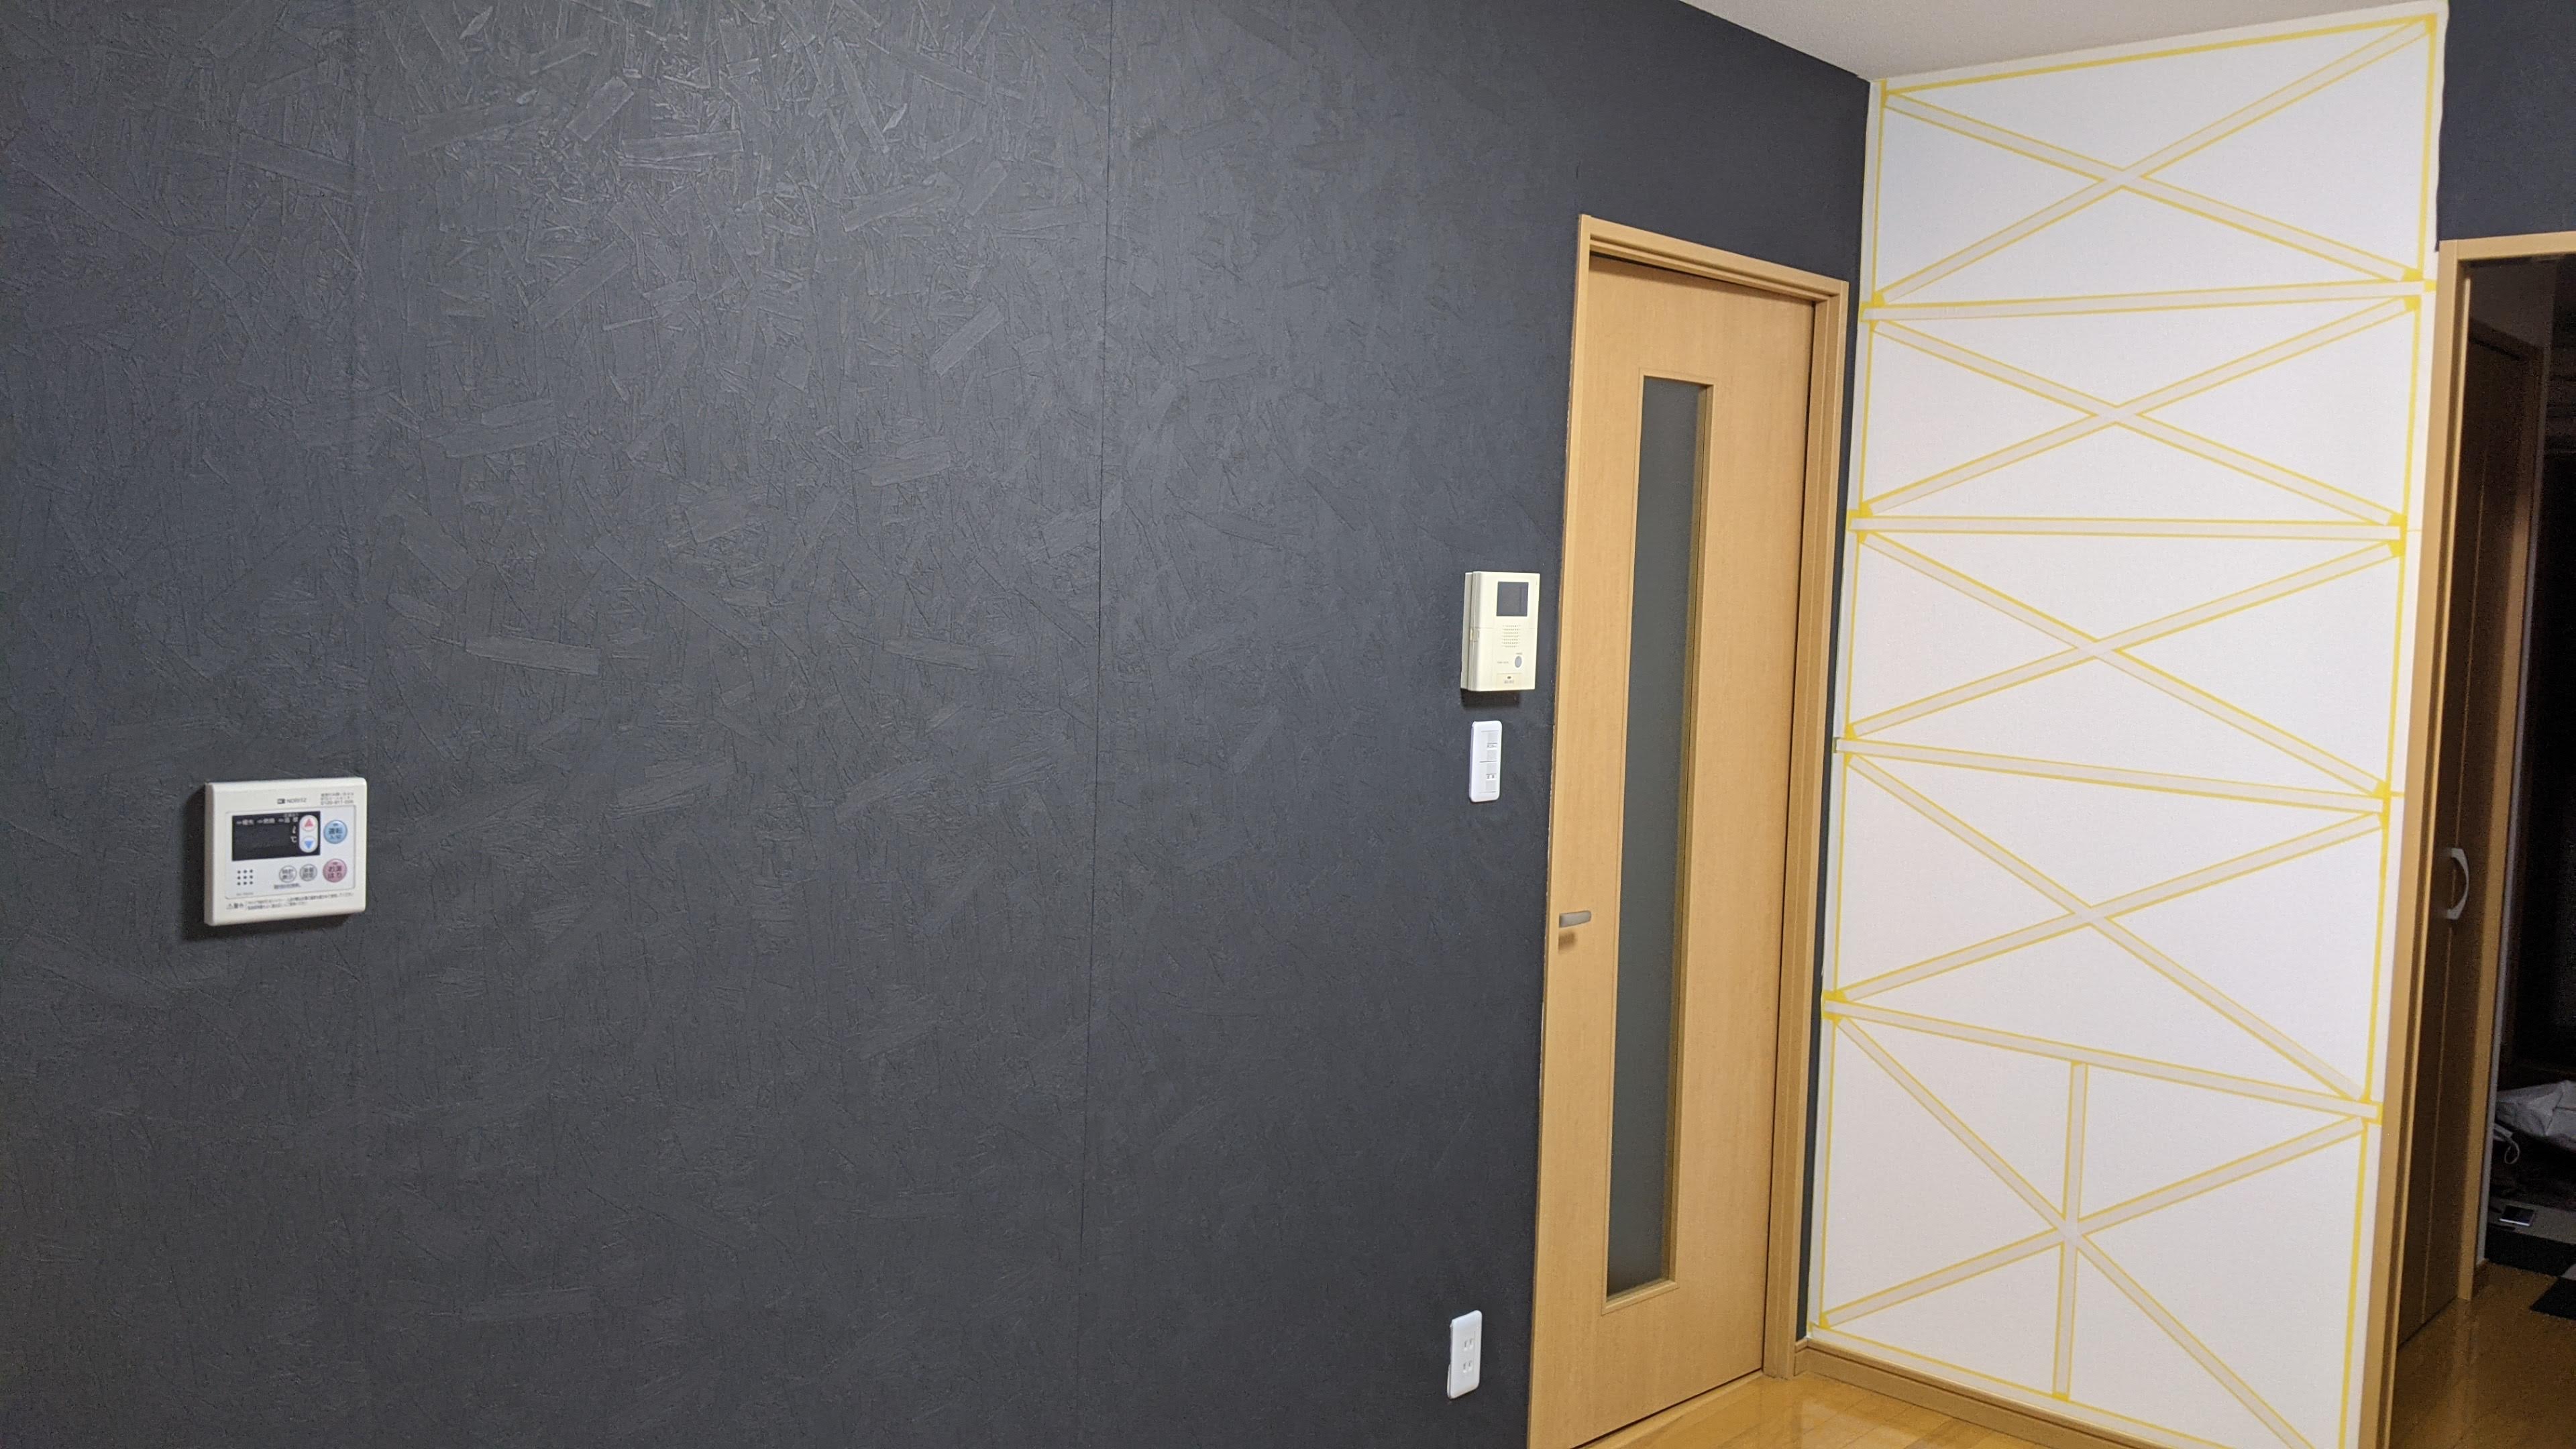
Covering the surrounding area.
Staining the Lumber
Raw 2x4 timber is pale and unfinished. To achieve an elegant walnut appearance, I used Watco Oil. Ensure proper ventilation when applying oil finishes.
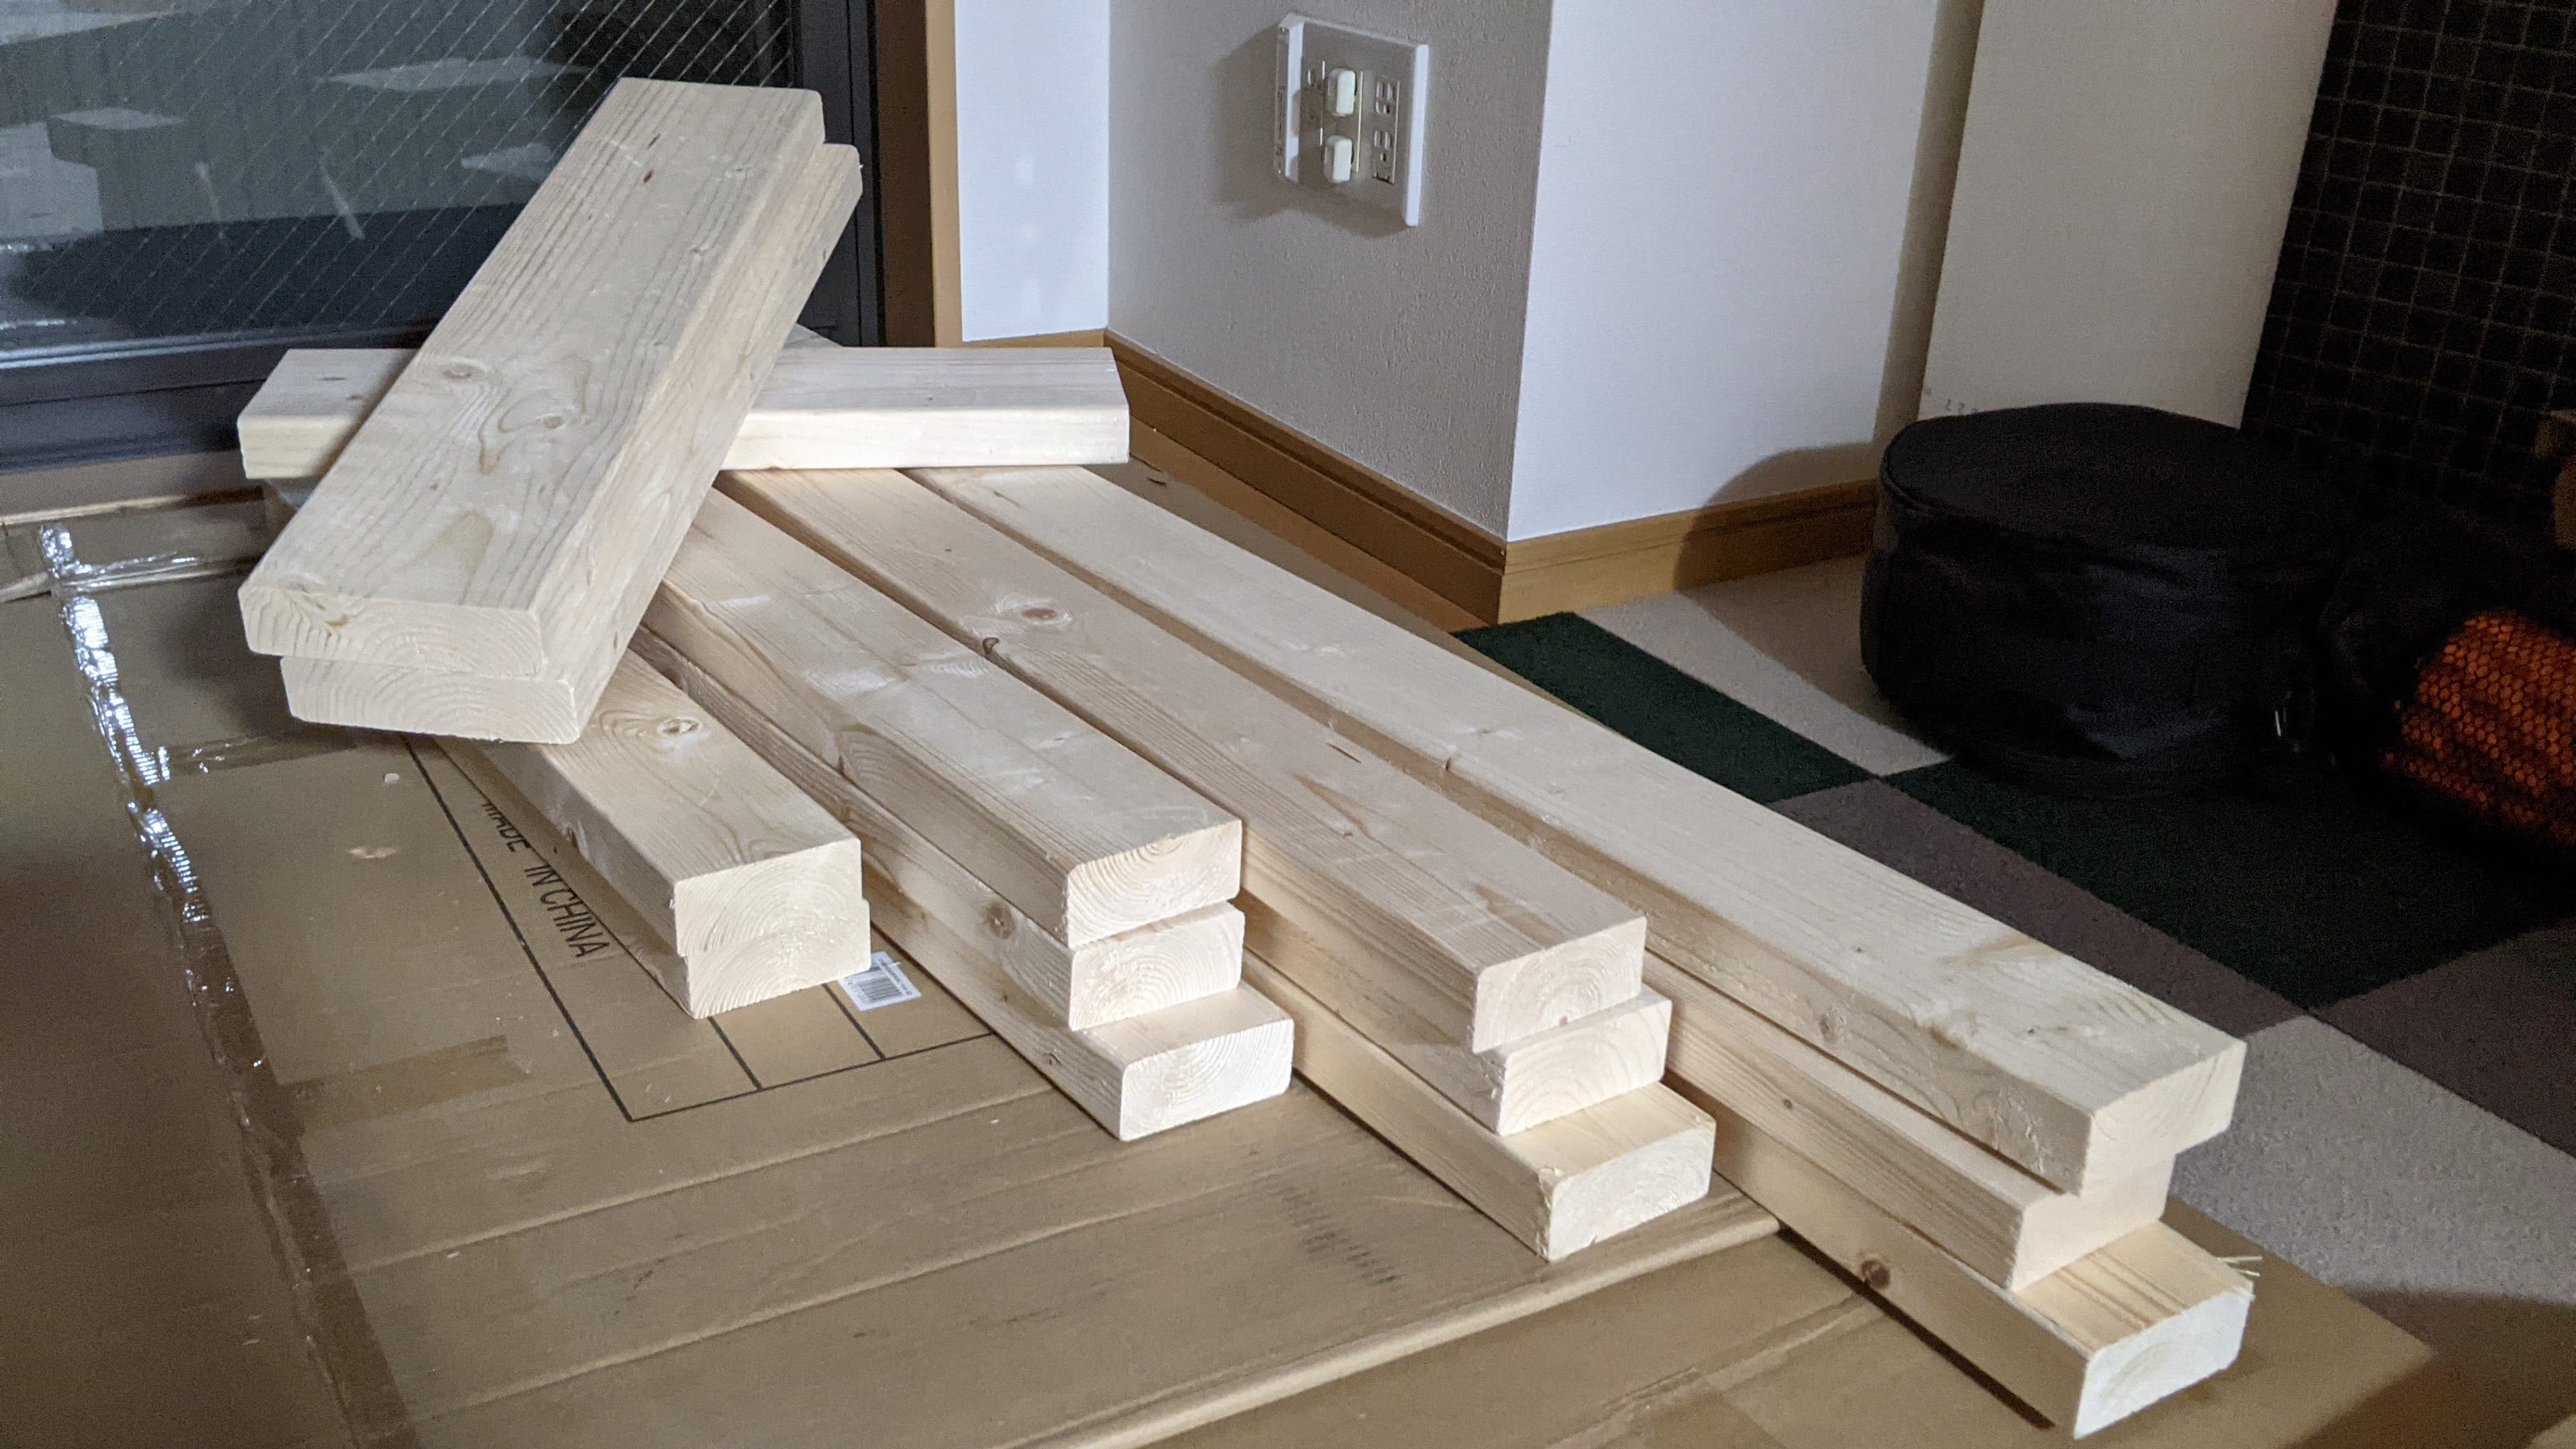
Untreated lumber.
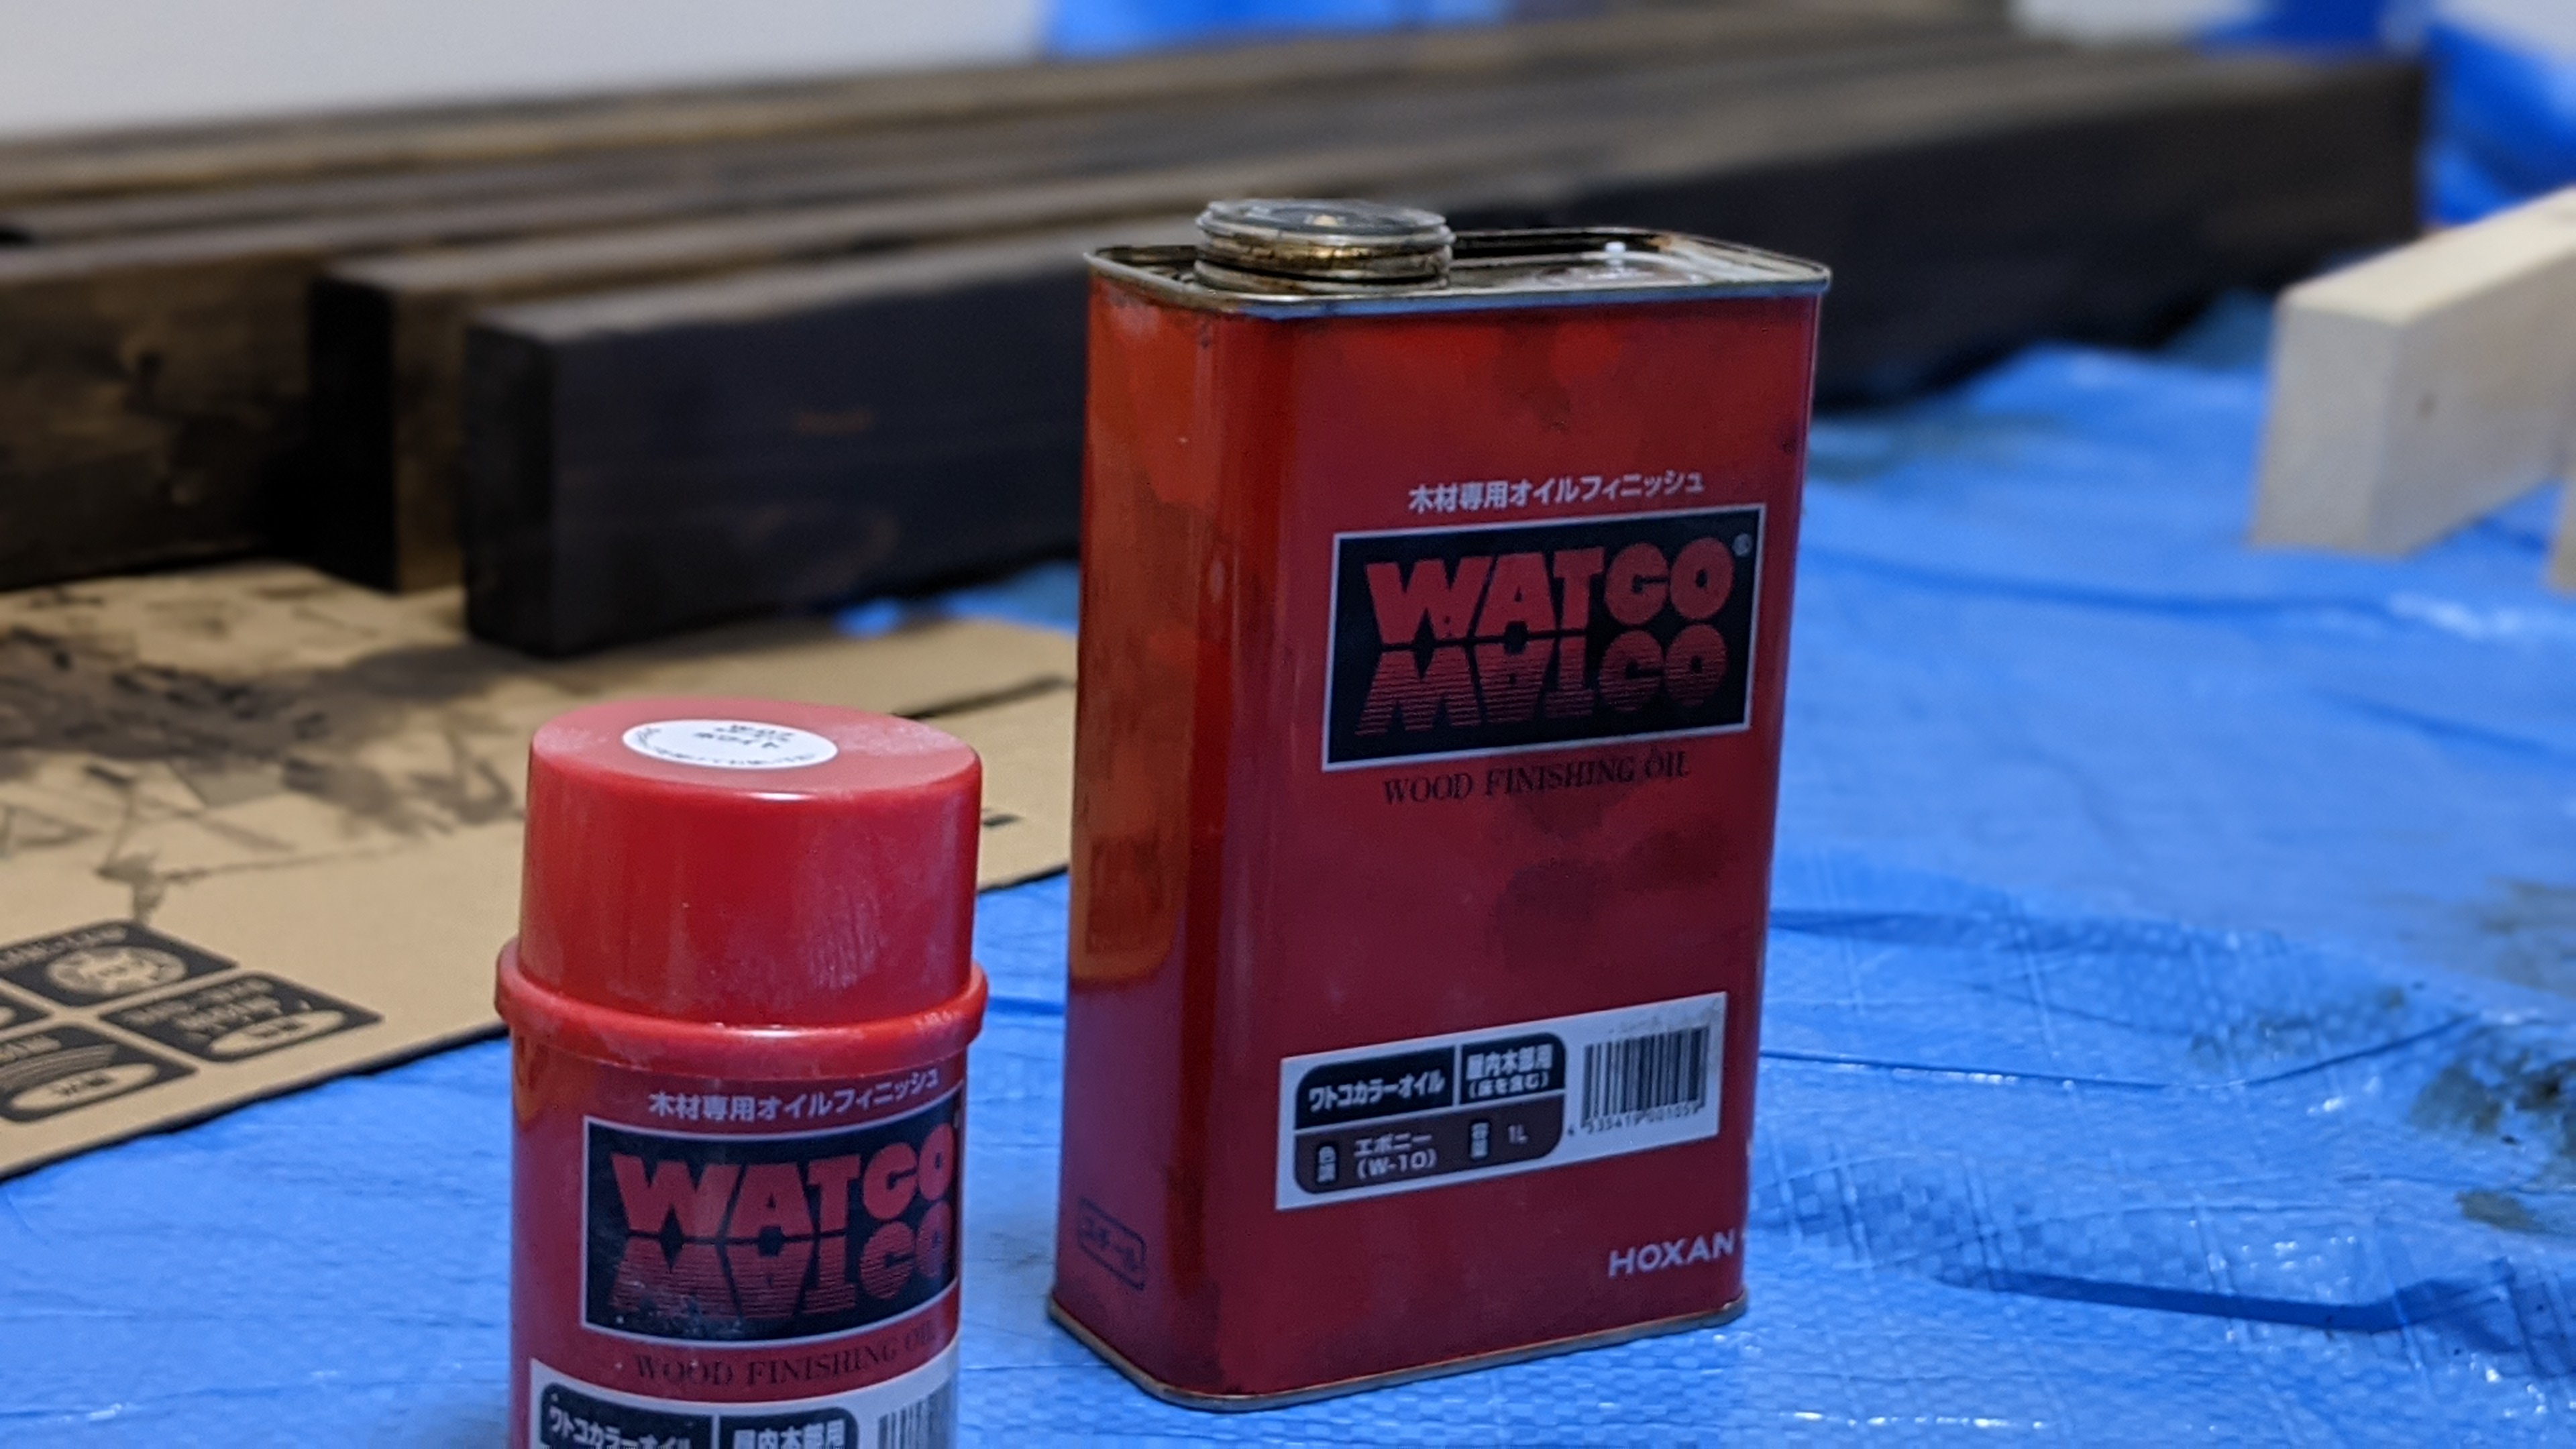
Staining with Watco Oil.
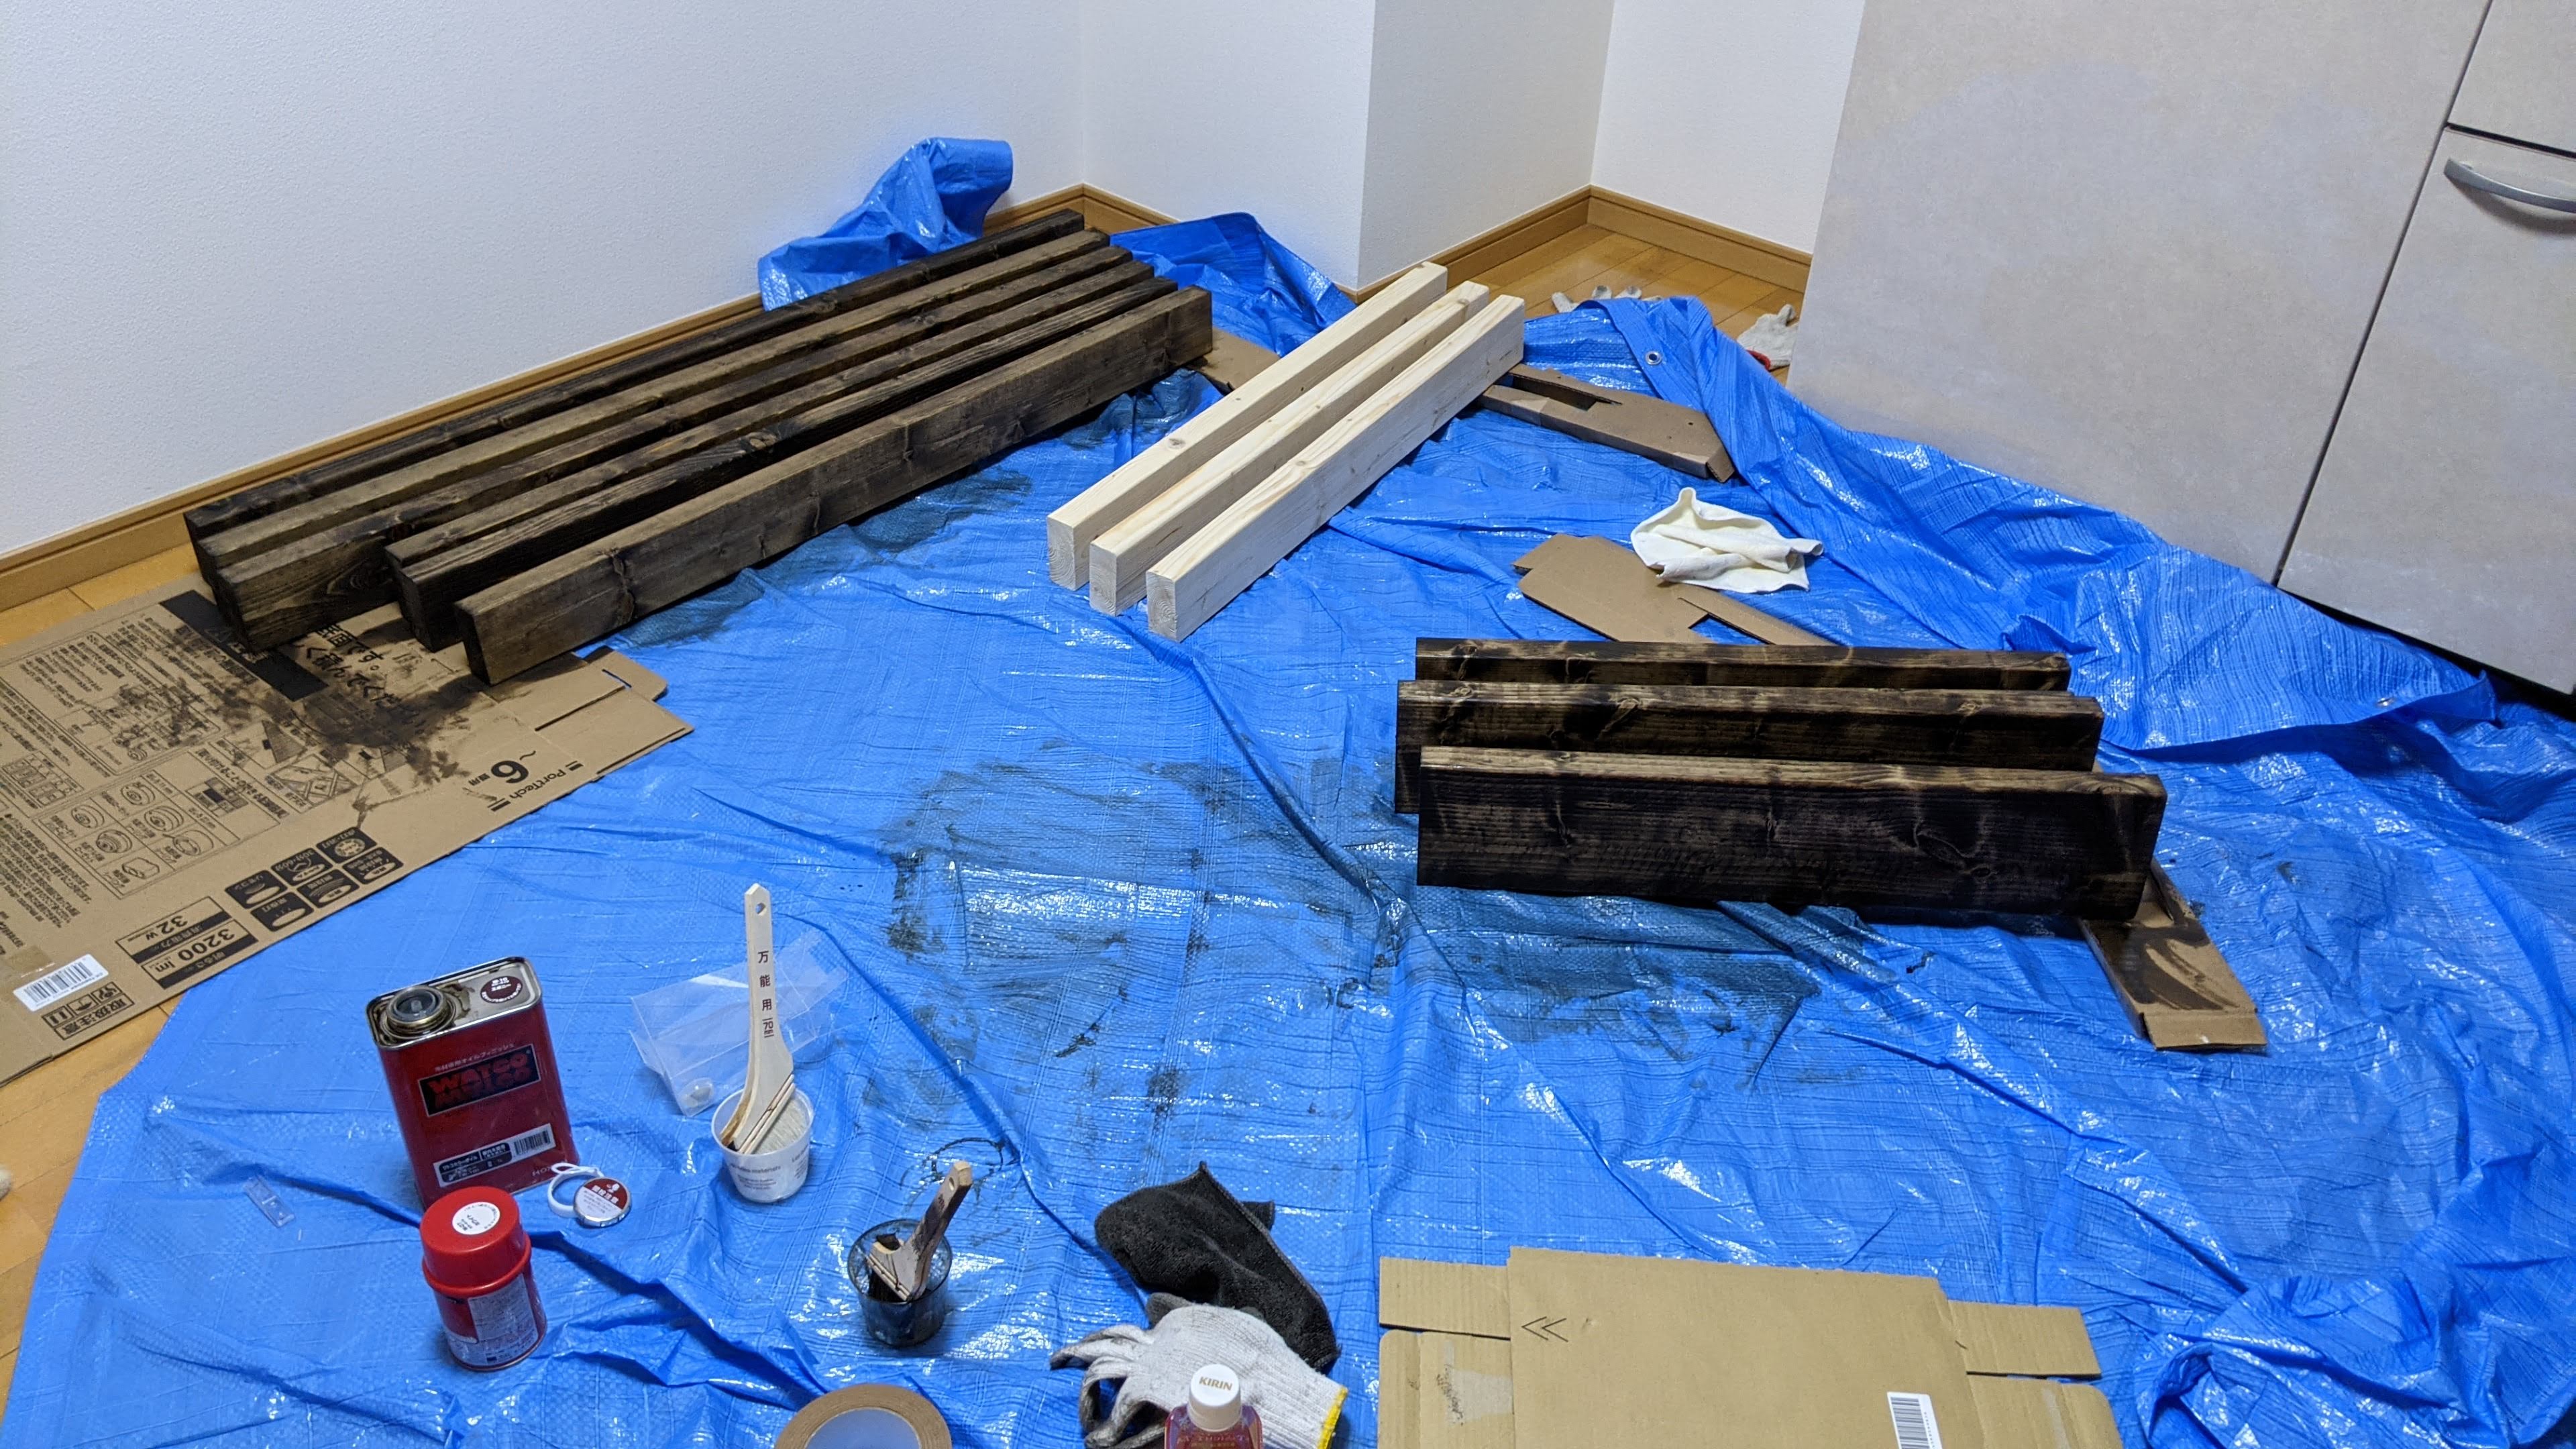
Beautiful stained finish.
Assembling the Frame
Once the stained timber dries, frame assembly can begin following the layout blueprints.
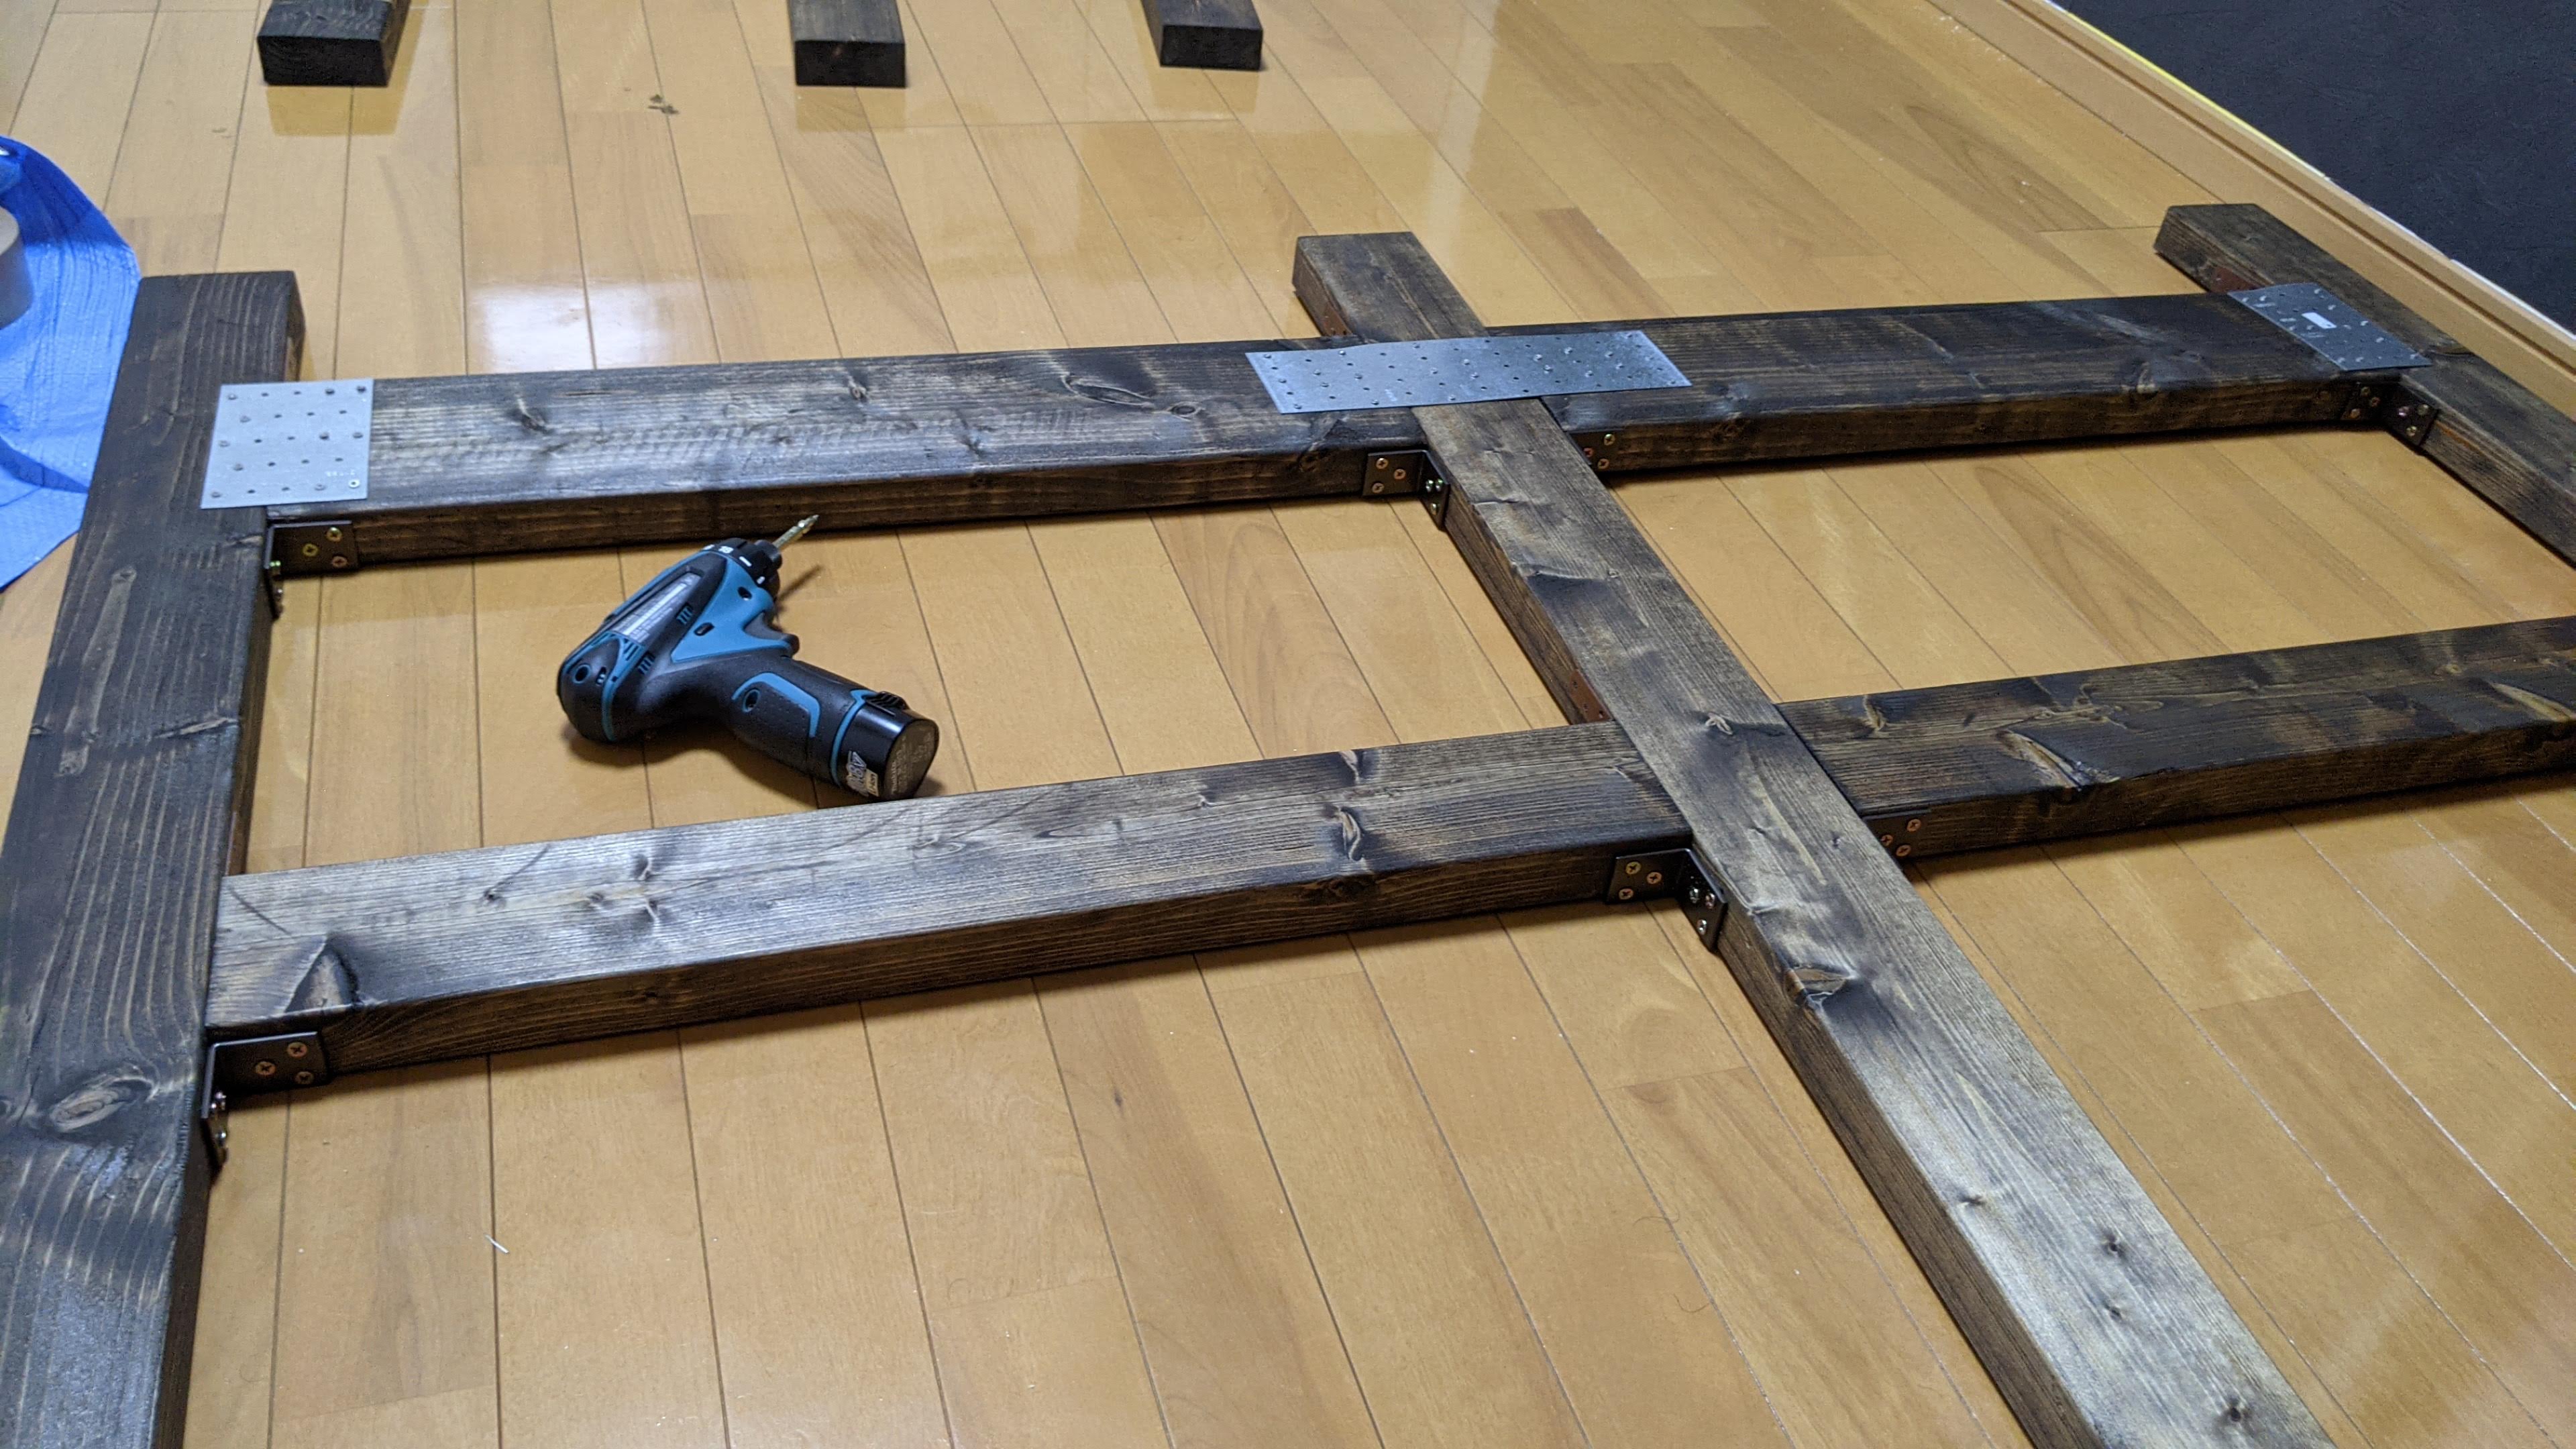
Assembling joints with L-brackets.
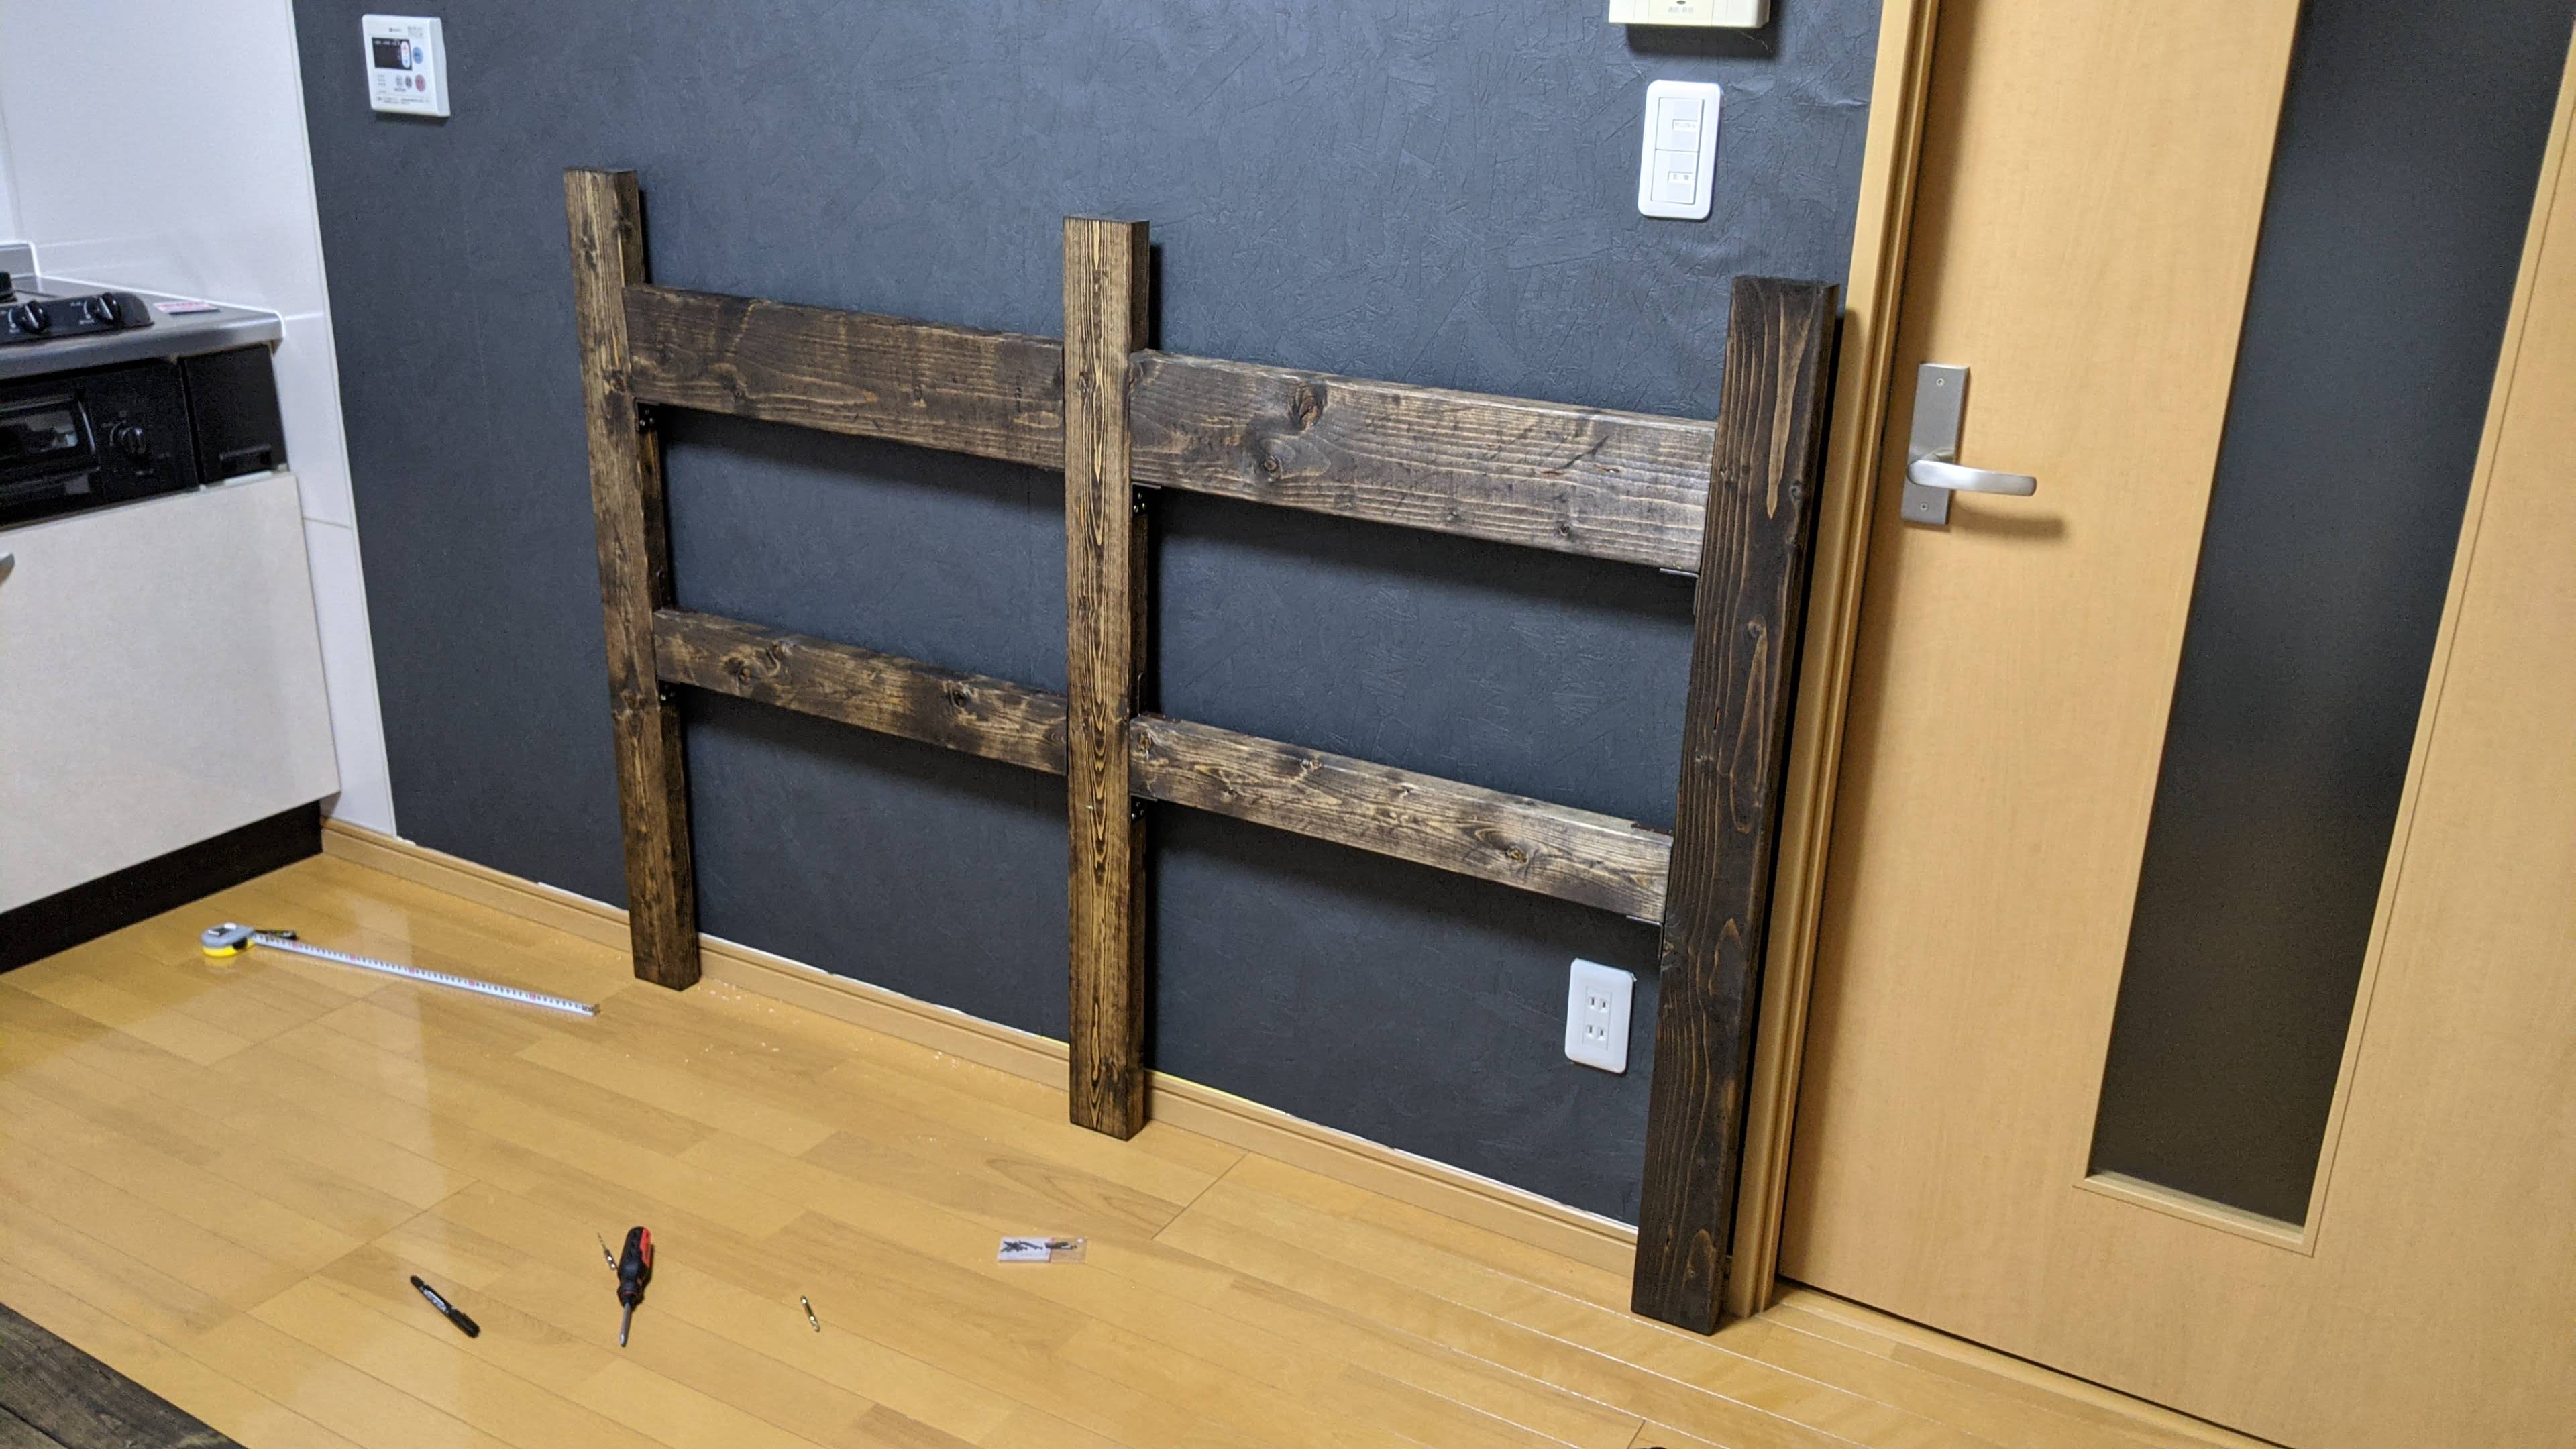
Double-checking alignment against design specs.
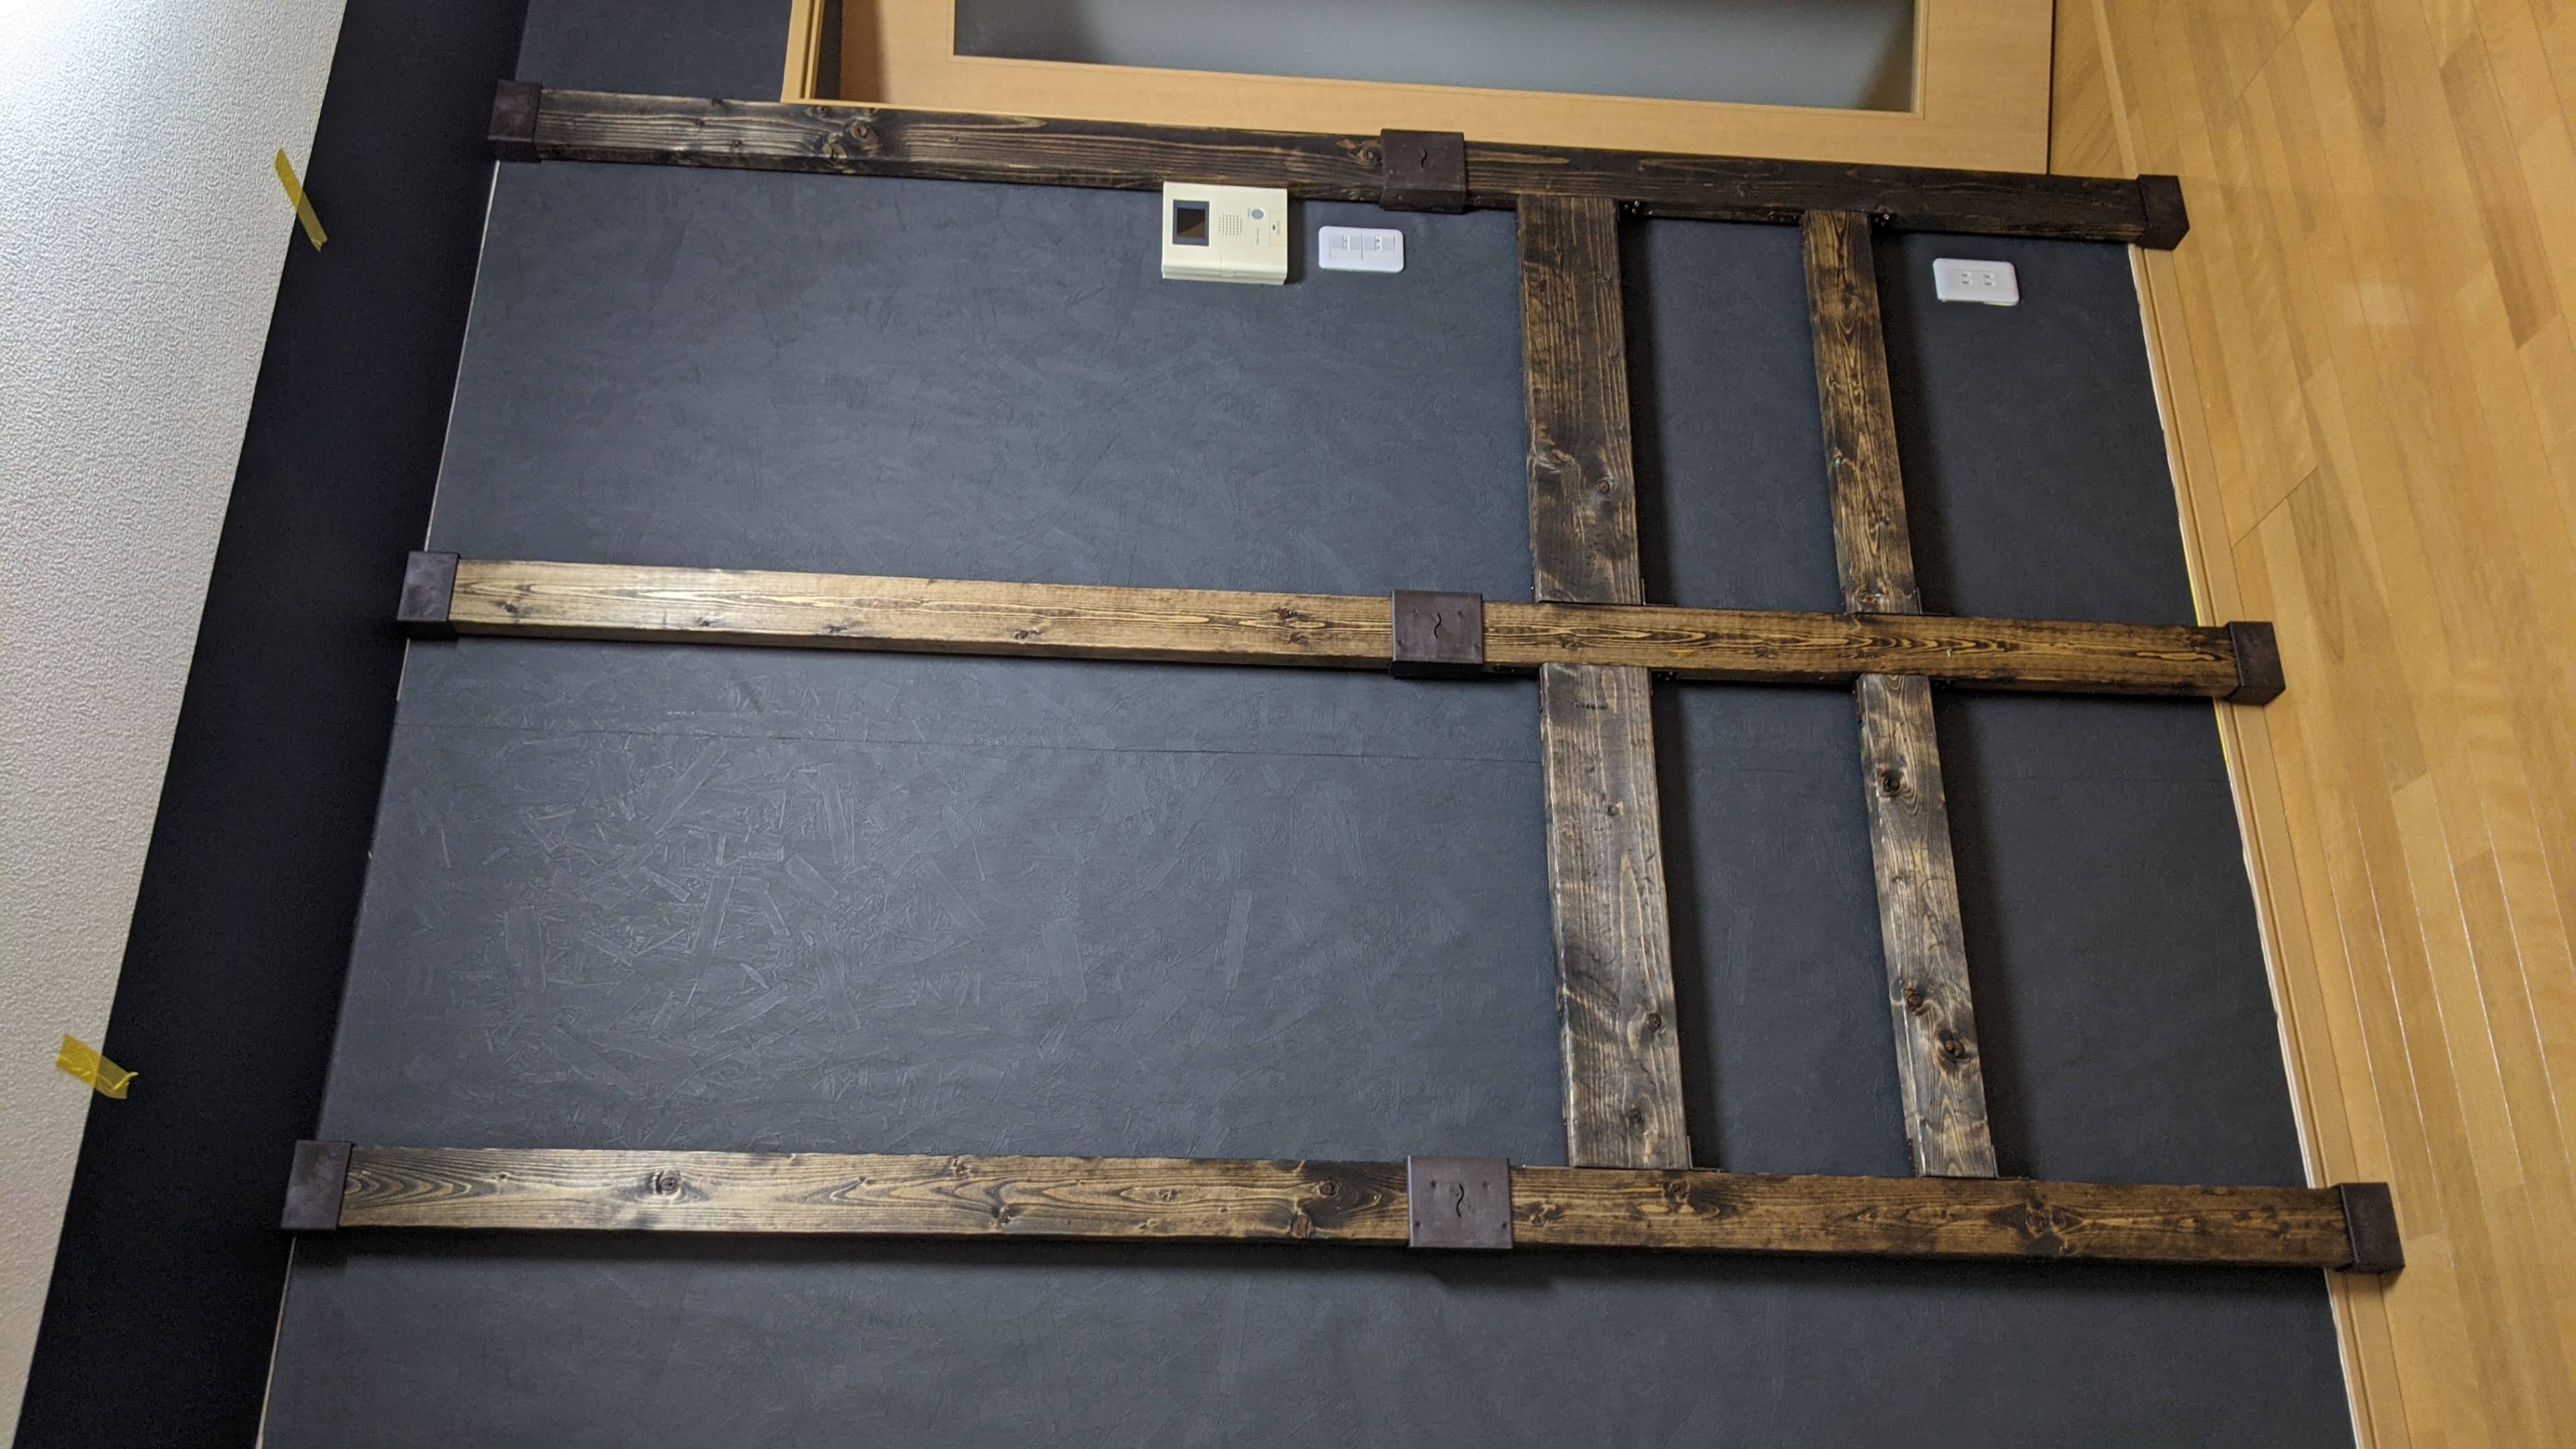
Installing the main pillars using Diawall spring tension brackets.
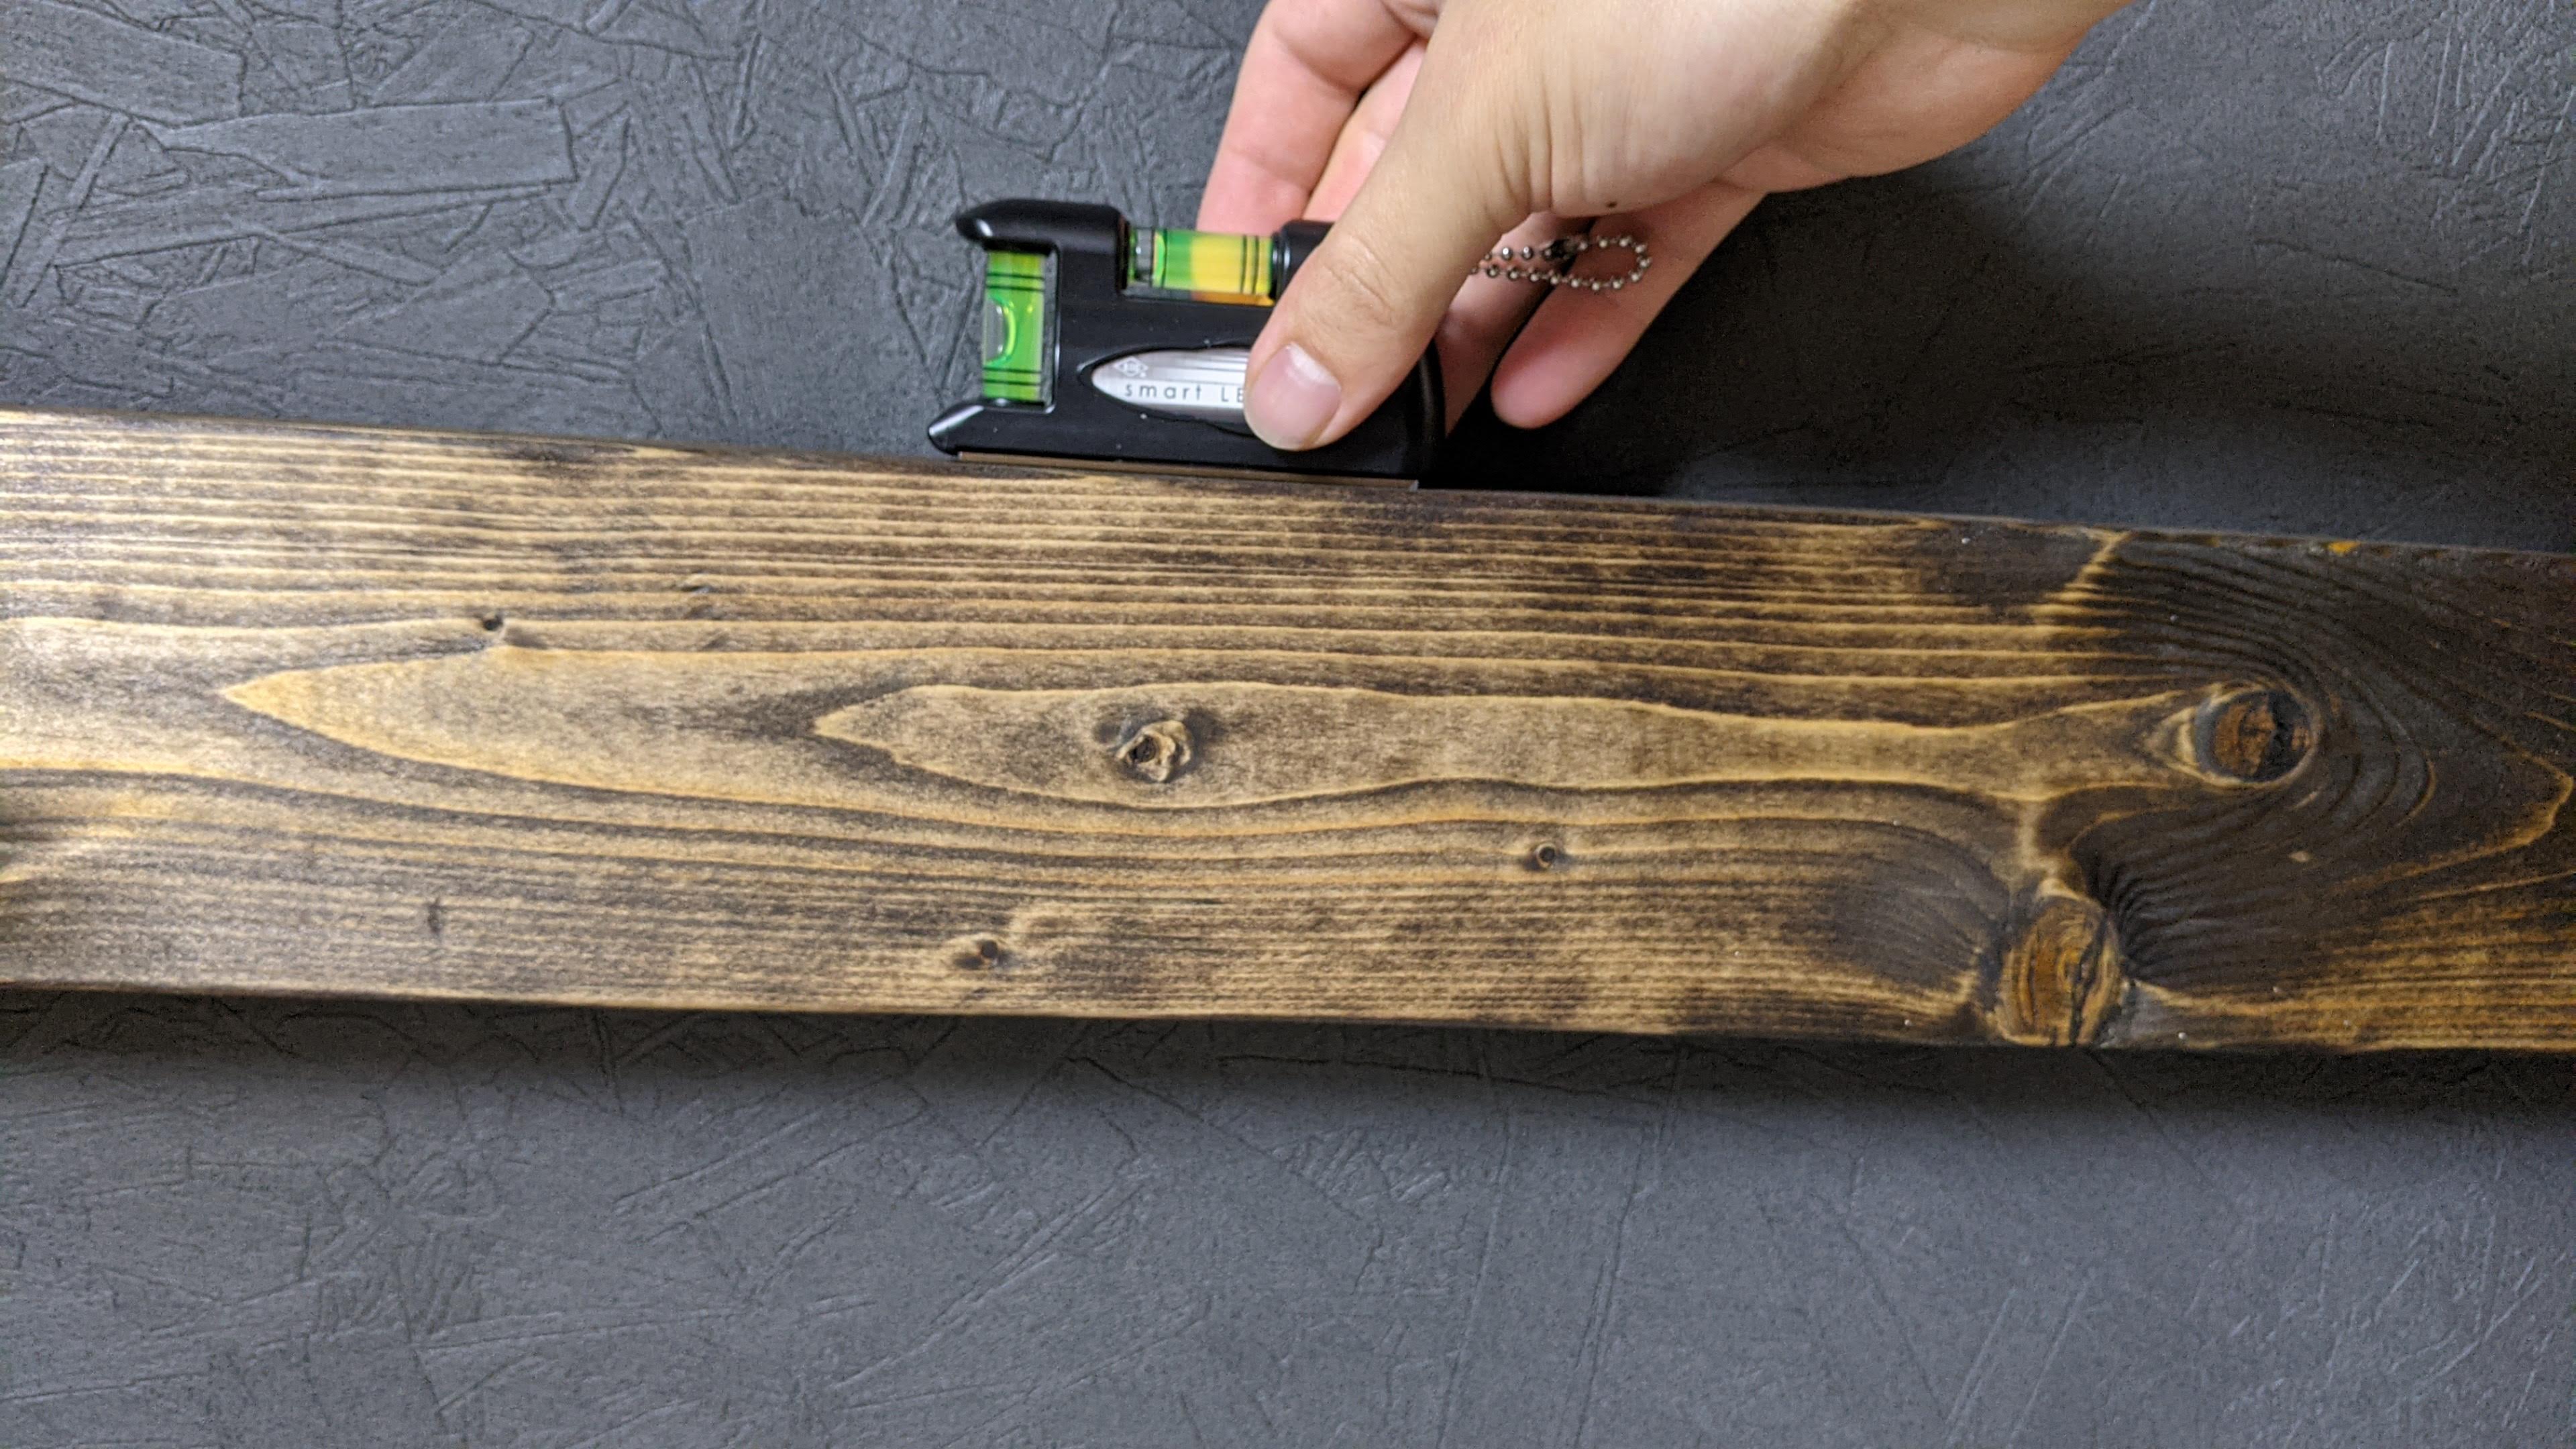
Verifying vertical plumb alignment.
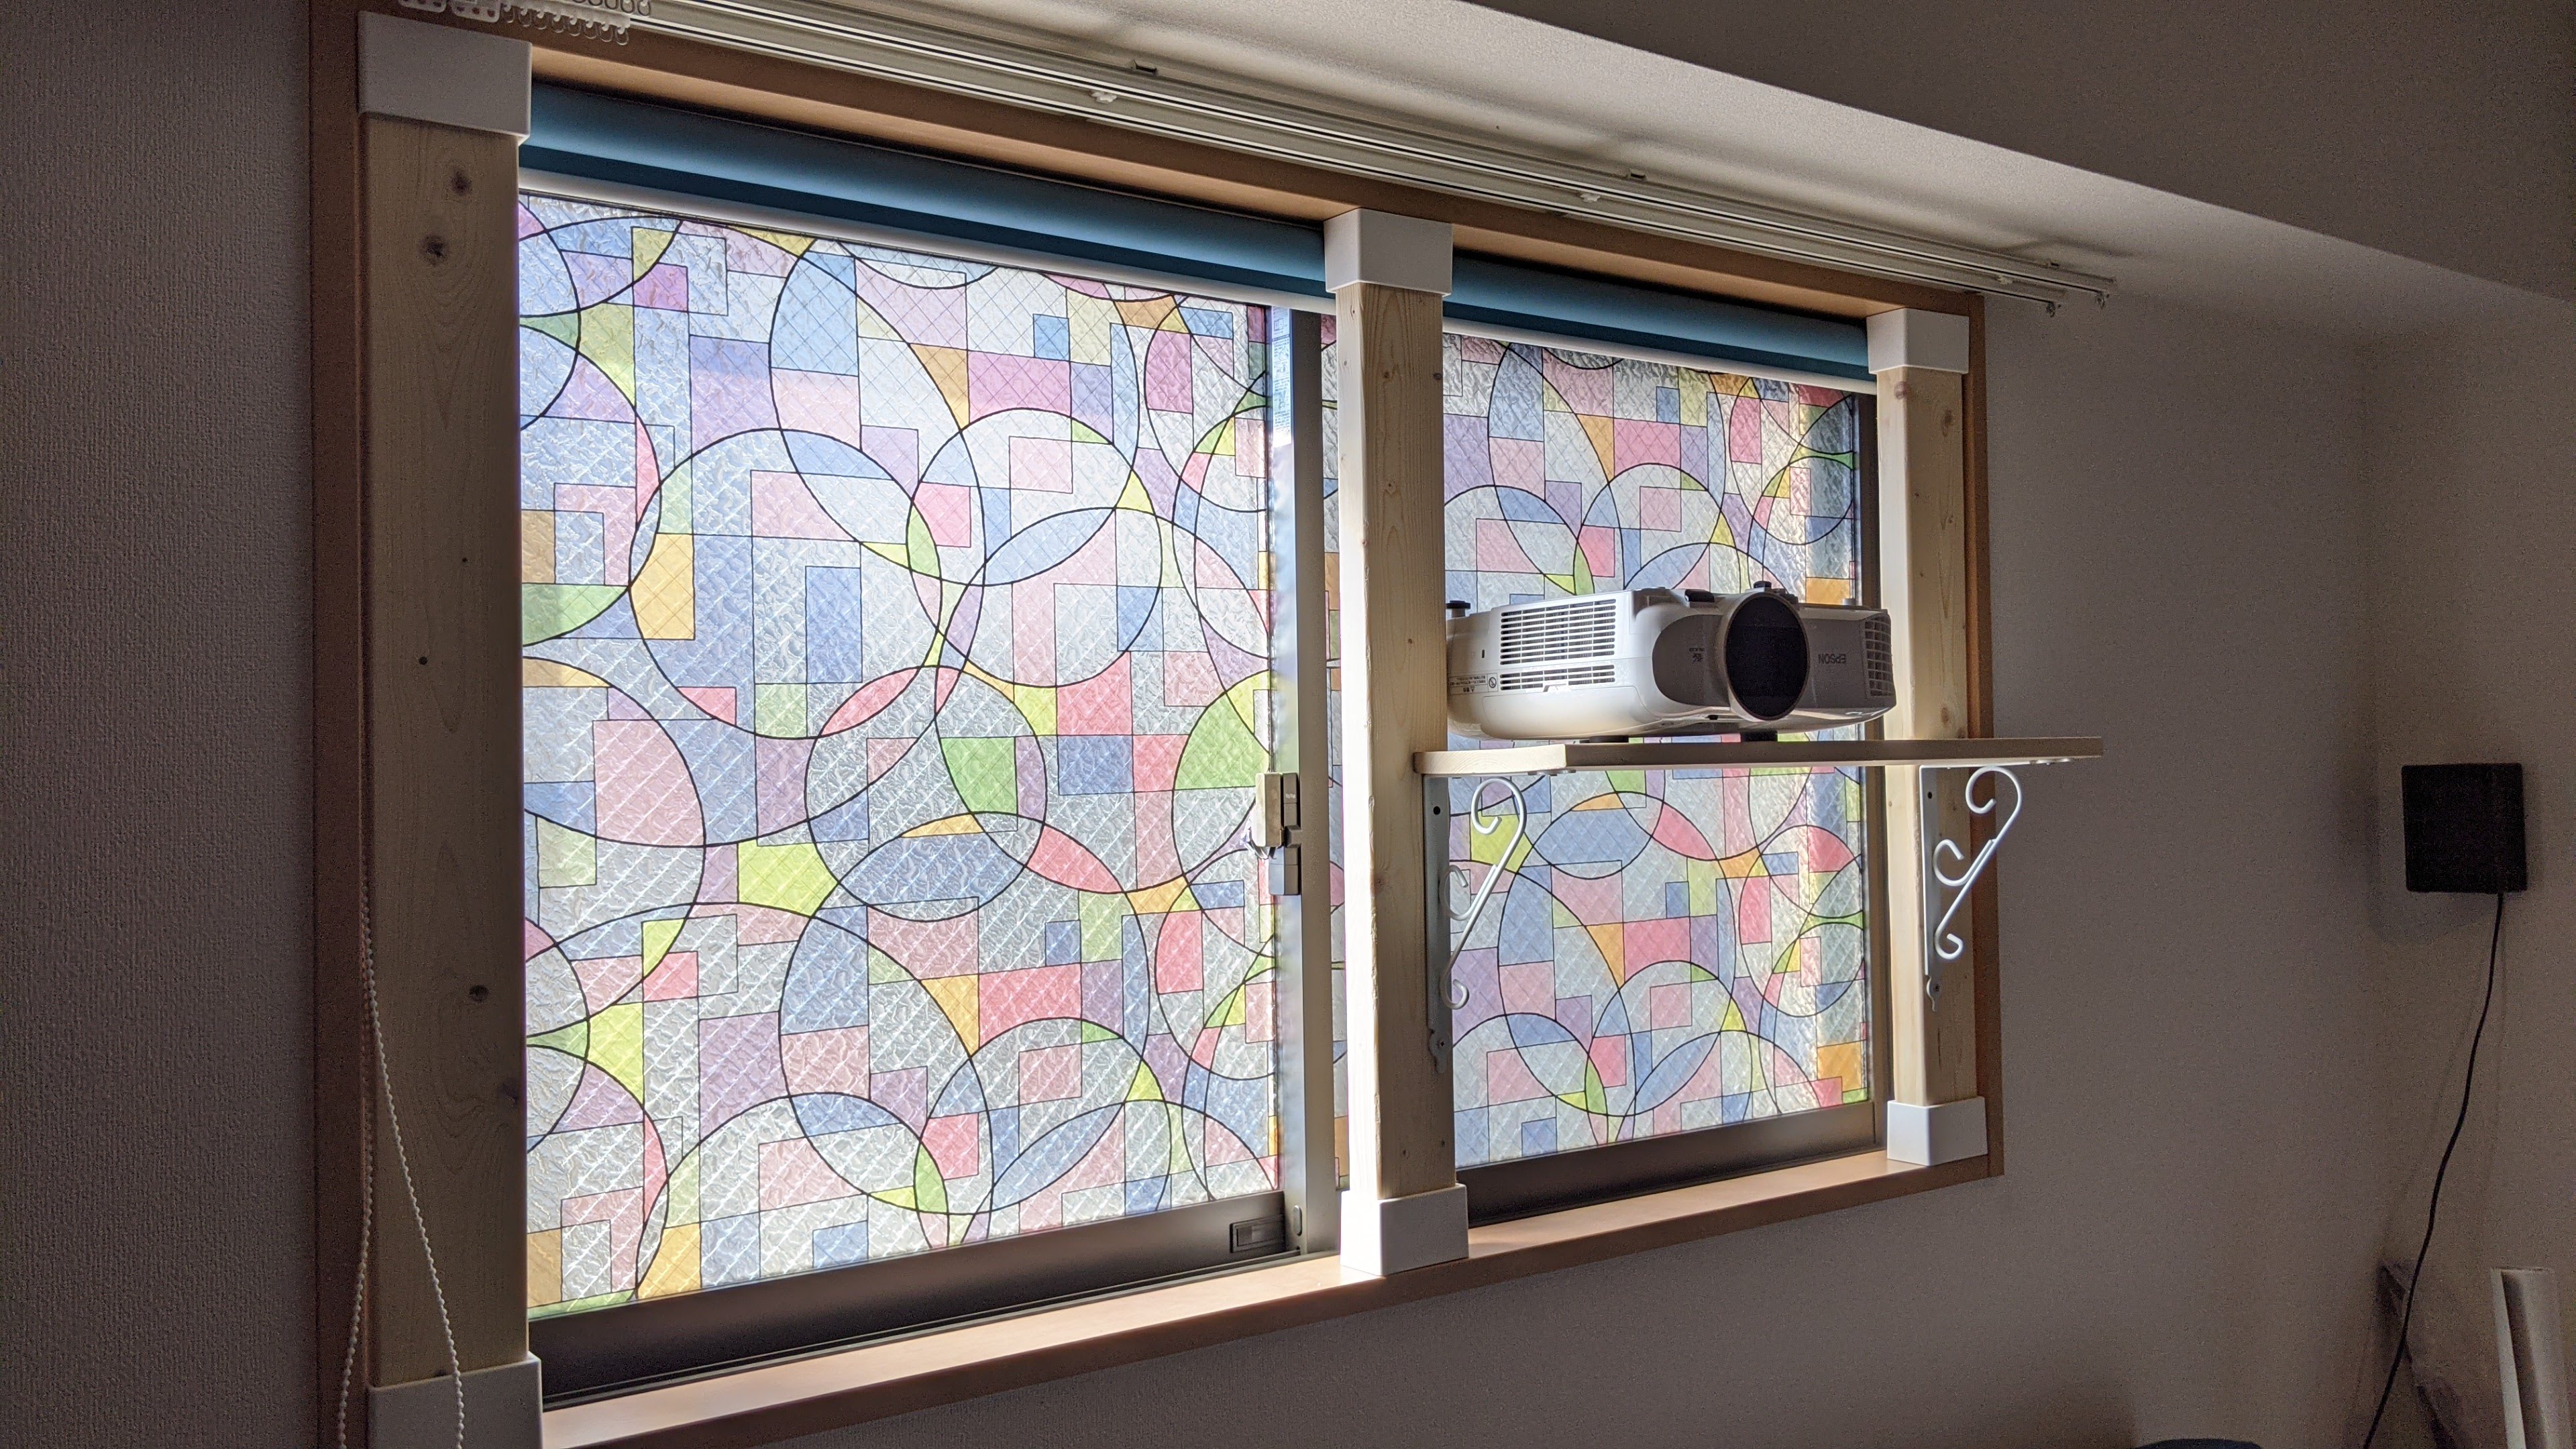
Projector shelf side painted white to blend with the projector casing.
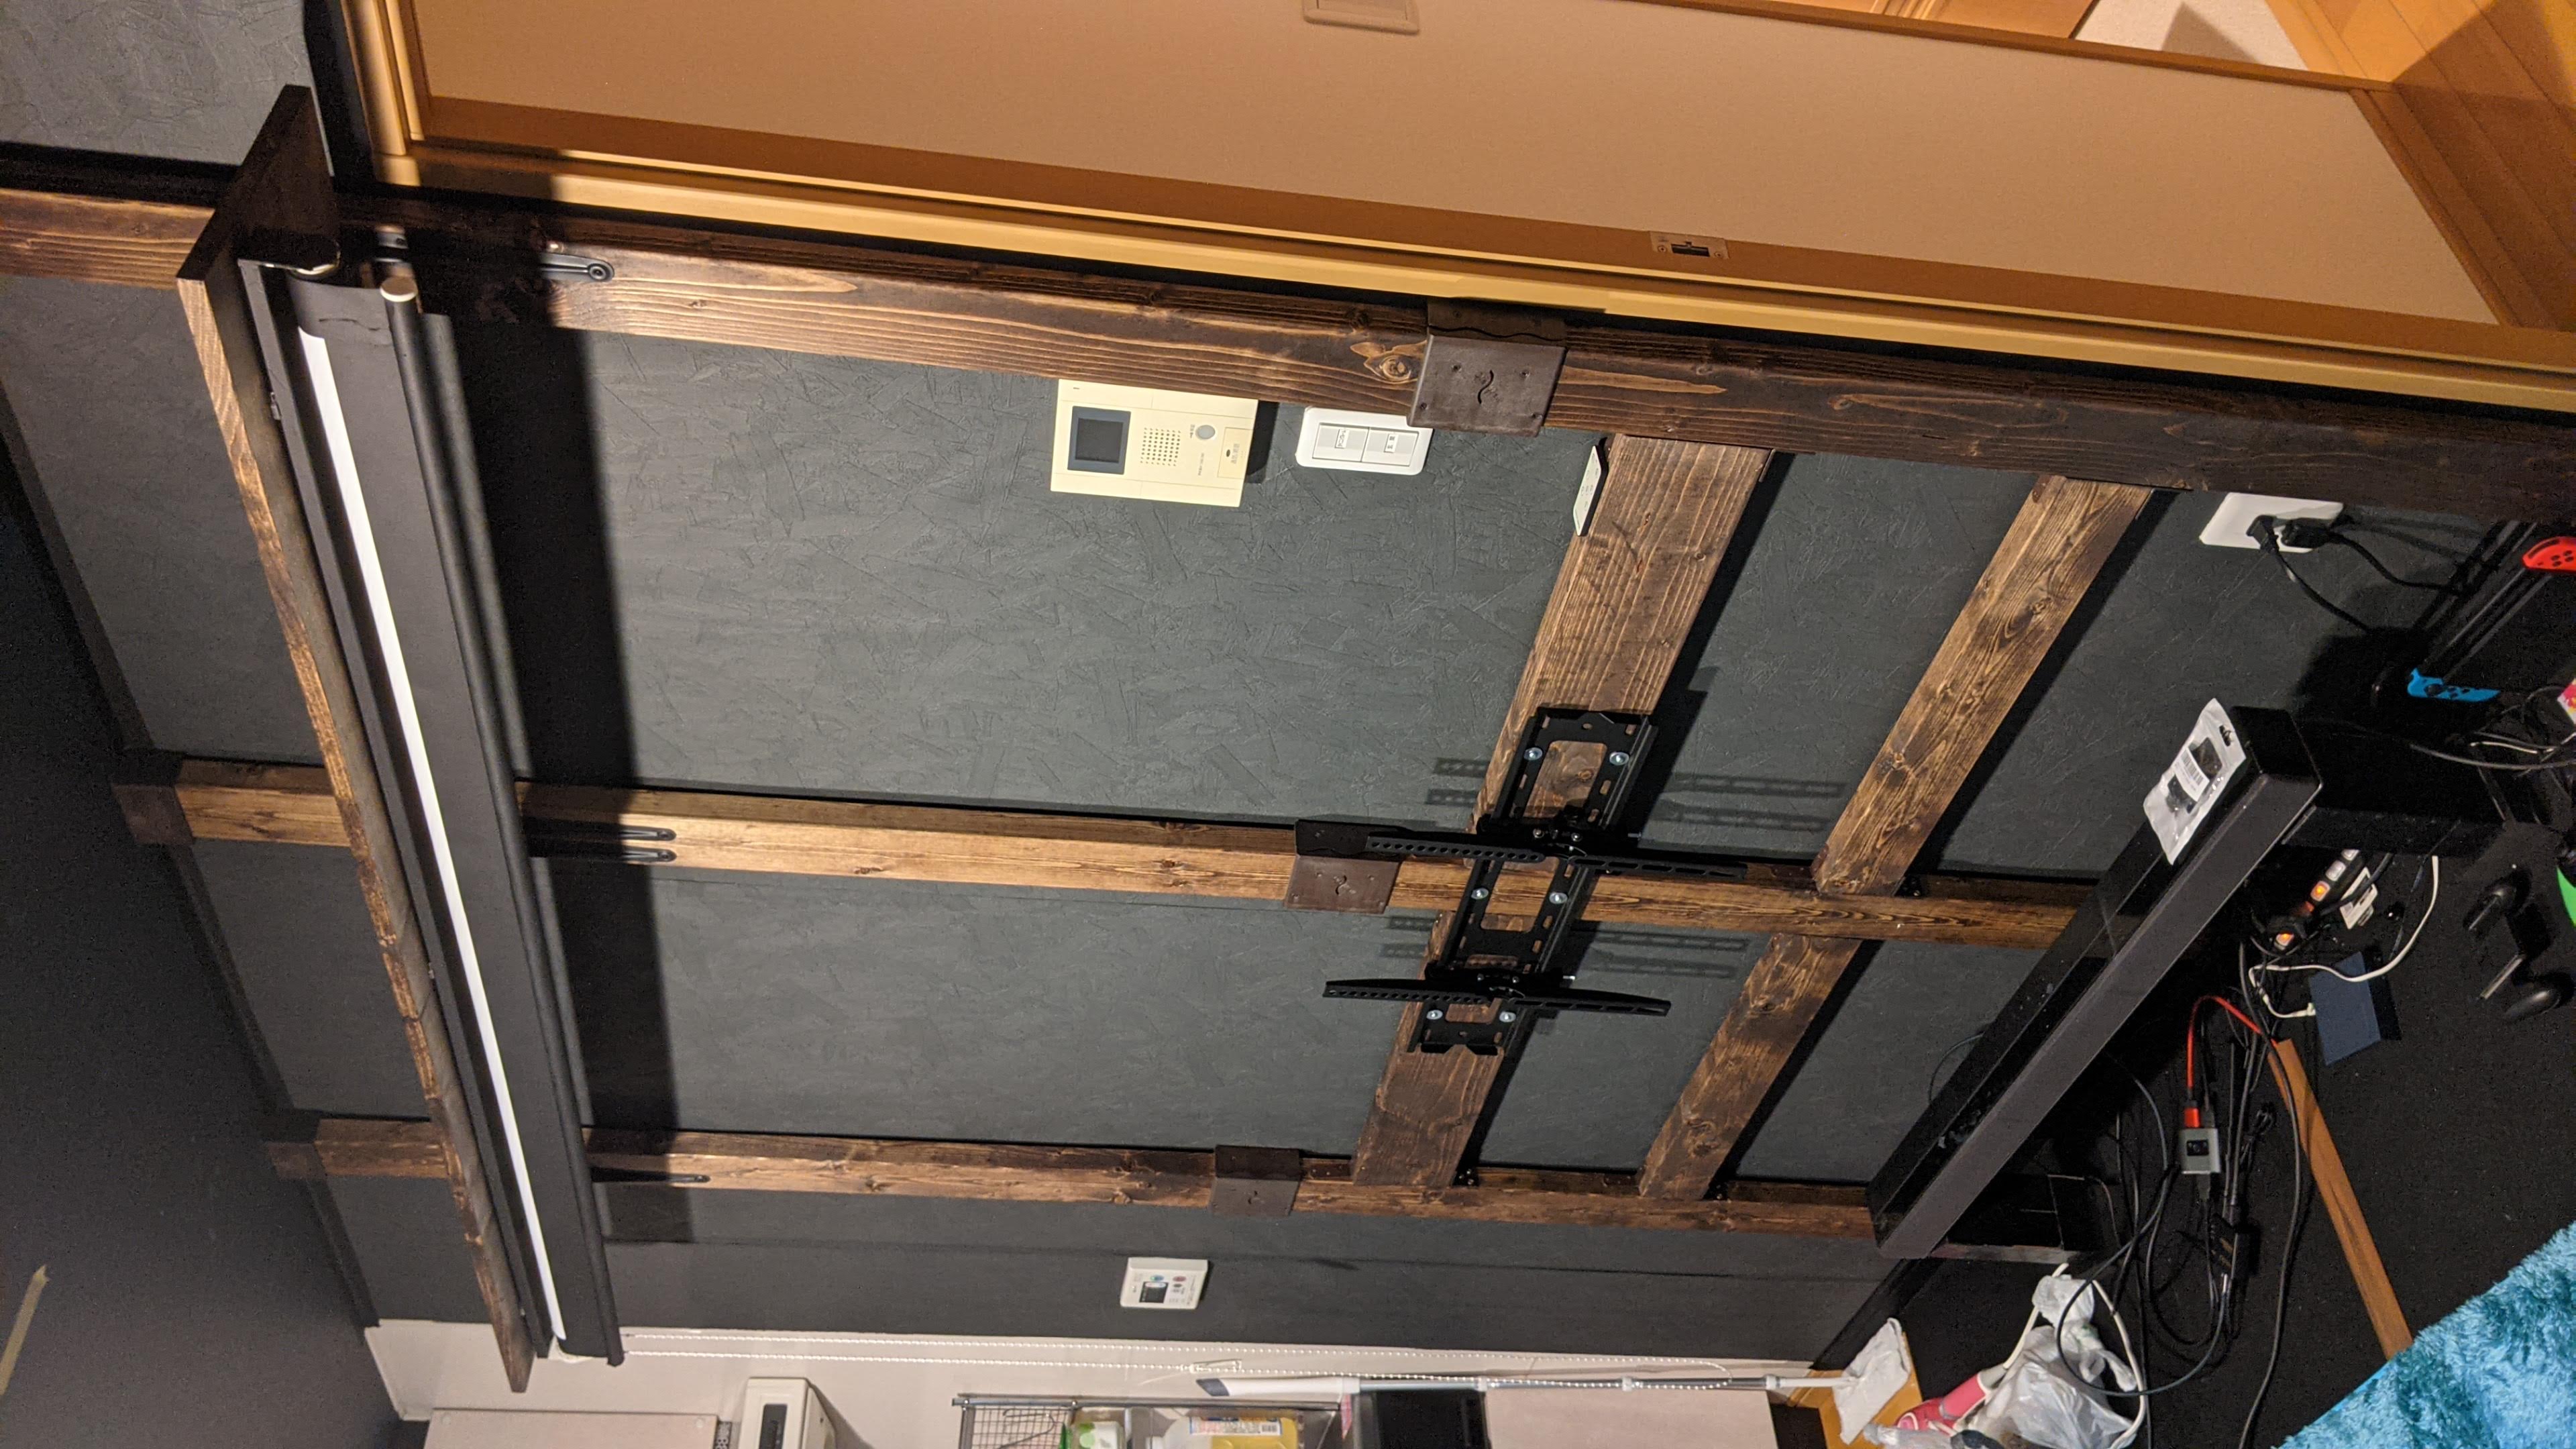
Mounting the upper shelf and roller screen.
Finished setup!
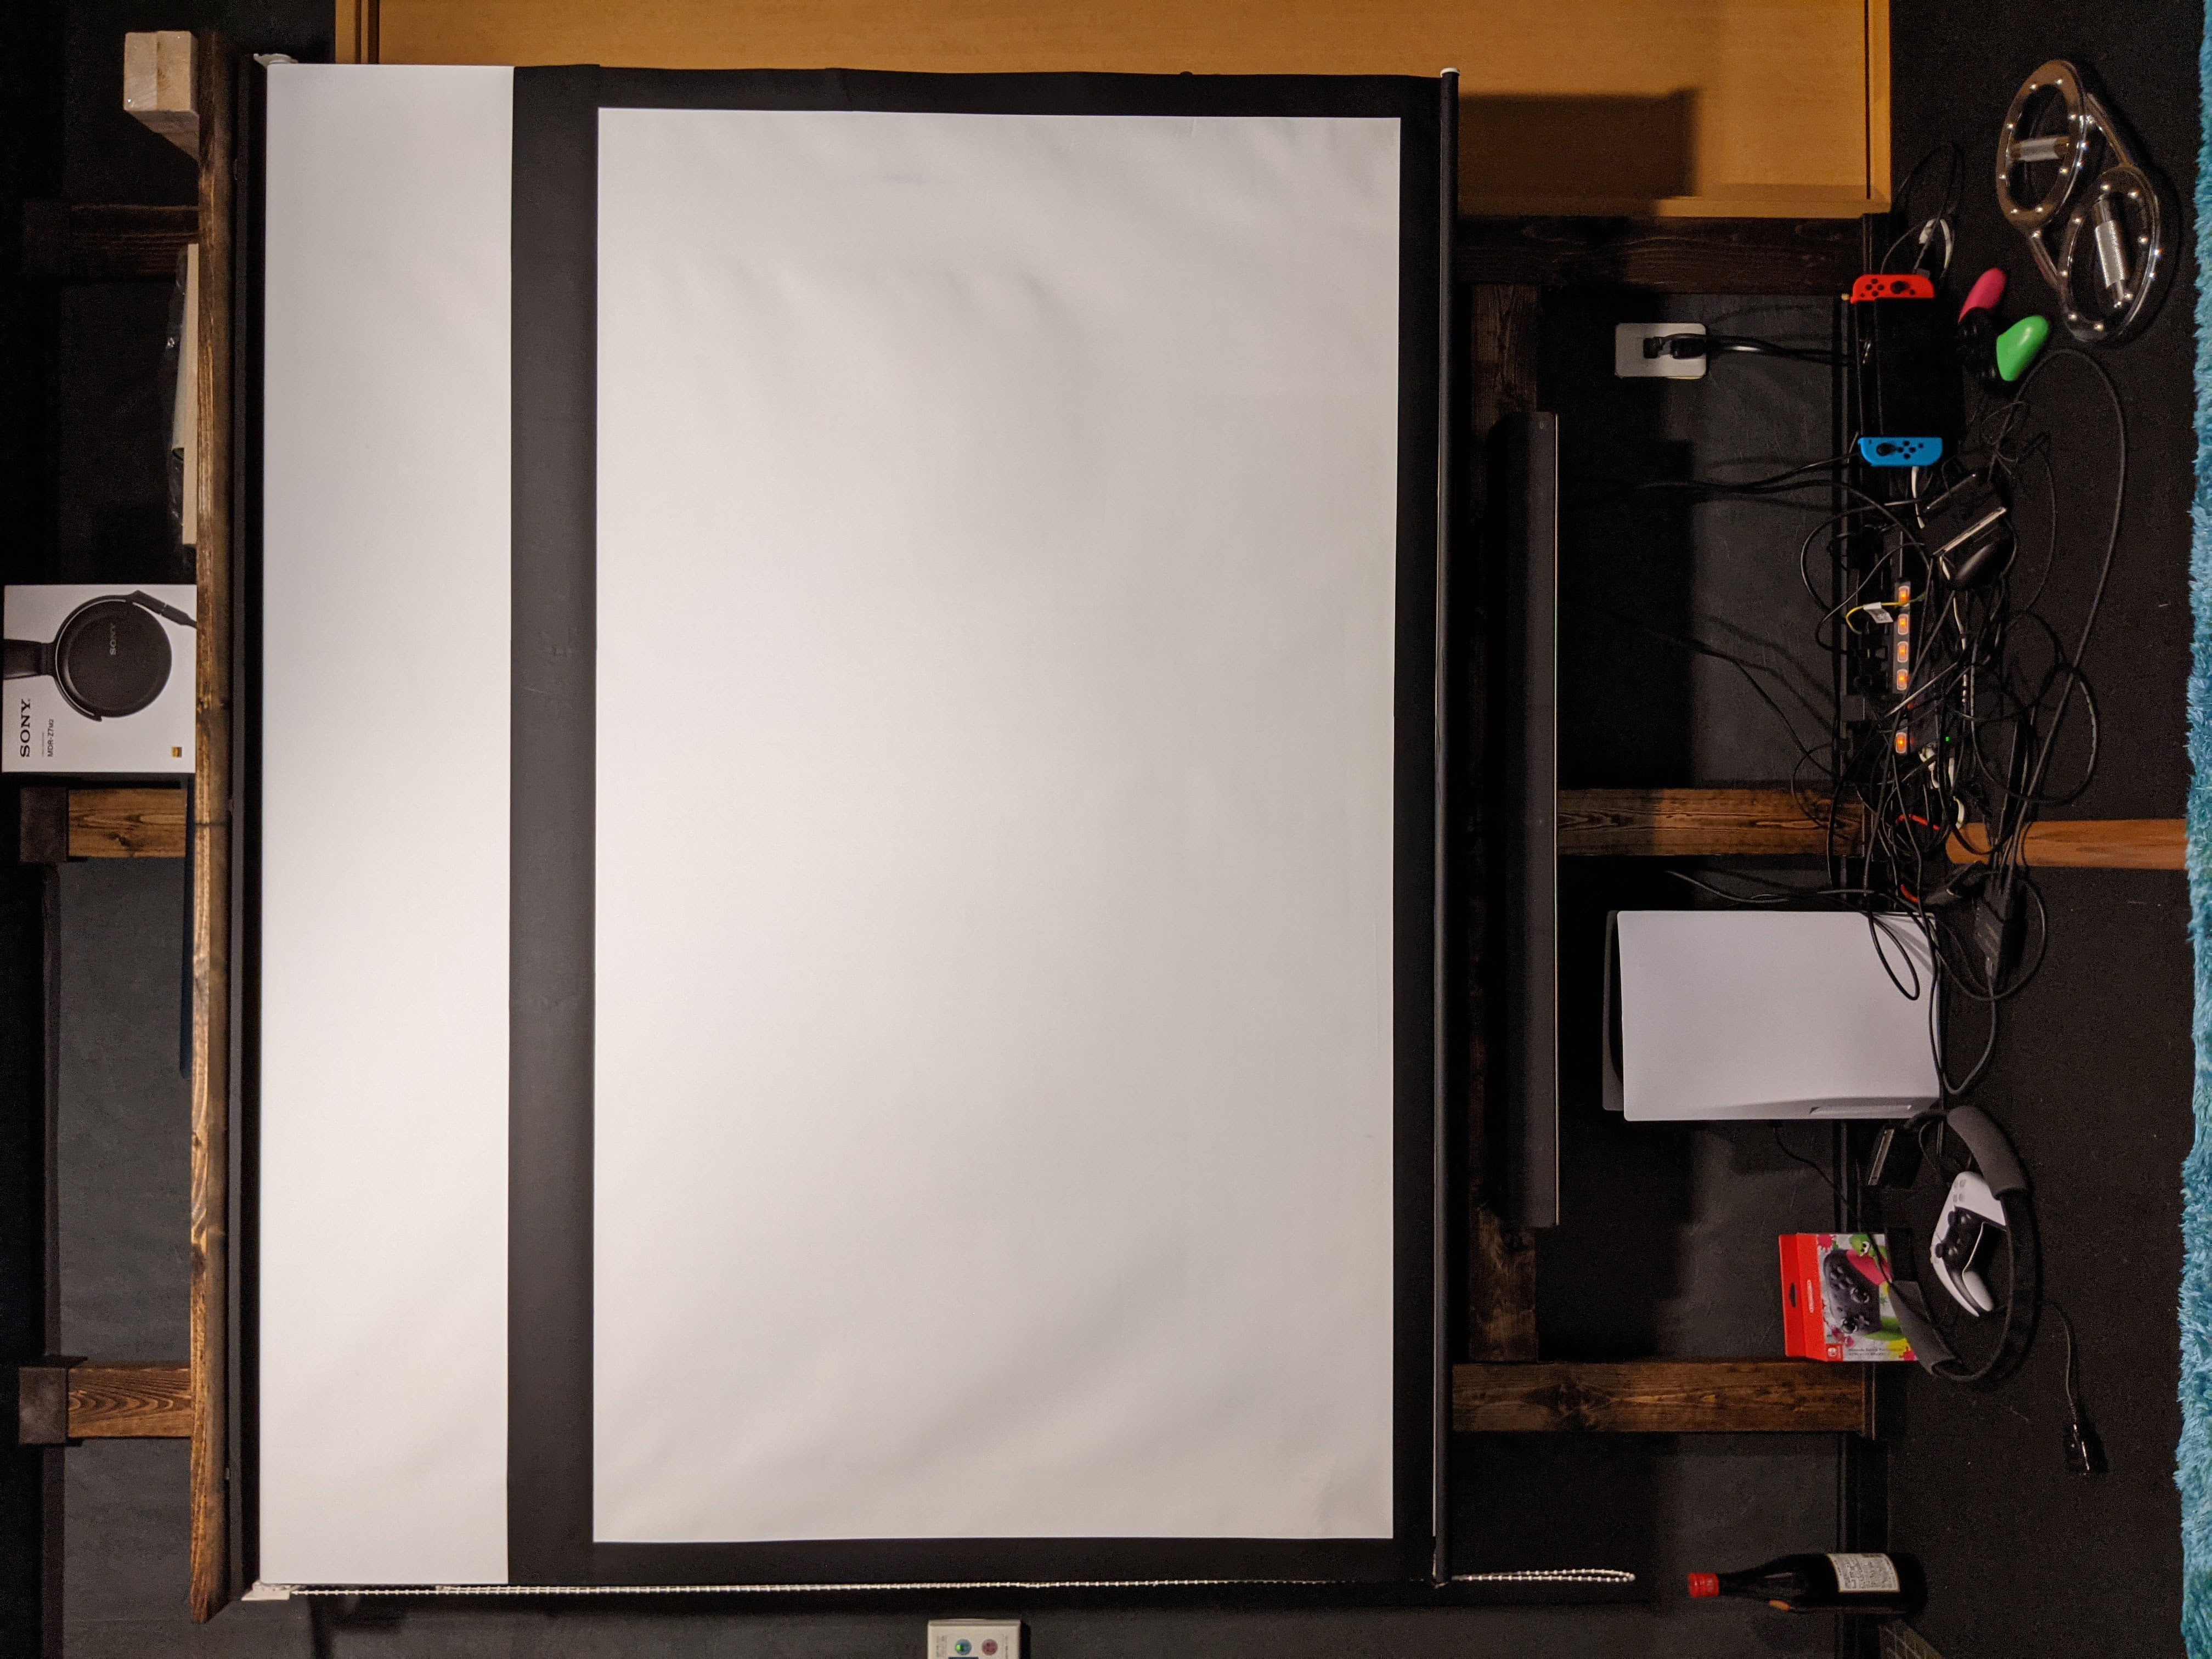
Pulling down the screen gives a seamless large theater experience.
Summary
Even with little prior DIY experience, creating a high quality home theater in a rental apartment is entirely doable. I hope this guide inspires anyone considering building their dream cinema room!